
Before showing how the route command should be used in Linux it is necessary to understand what a routing table is.
A routing table is a file containing information on how the information or packets should be transferred: the network path to all nodes or devices within a network. It is a map used by routers and gateways to track paths. The hop-by-hop routing is widely used, the packet contains the routing table to reach the next hop, once reached, it will read the routing table again to reach the next hop.
Using the route command you can communicate with subnets and different networks, you can also block the traffic between networks or devices by modifying the routing table.
In Linux the route command is part of the net-tools suite which includes ifconfig, iwconfig and other known tools to deal with networking. Like the rest of components of the net-tools suite the route command is being replaced by the ip route command, also explained in this tutorial.
Note: Replace “enp2s0” and “wlp3s0” device names mentioned in this tutorial for your correct device names.
How to use the route command in Linux
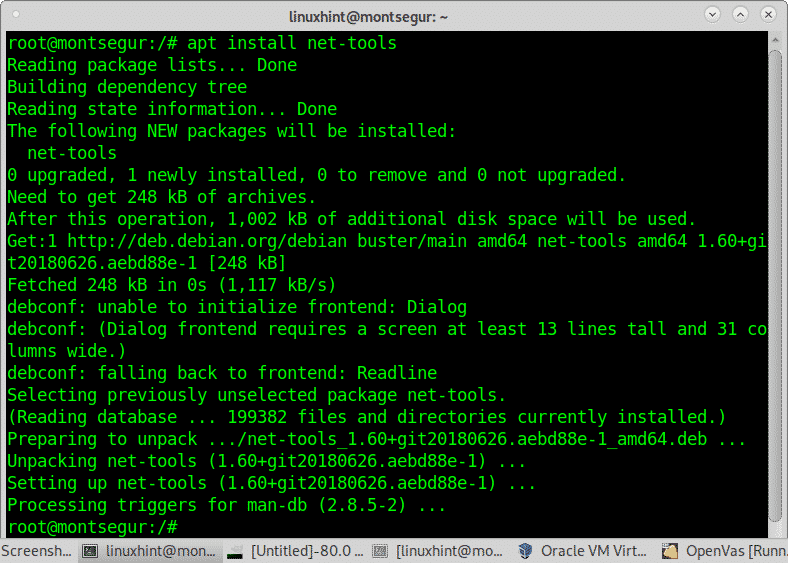
Since the net-tools package is being replaced by the iproute2 and isn’t included in all Linux distributions by default in case you lack of it on Debian and derived systems like Ubuntu or Mint, in the terminal run:
Once installed you’ll be able to use route, ifconfig, iwconfig and other commands included in the package.
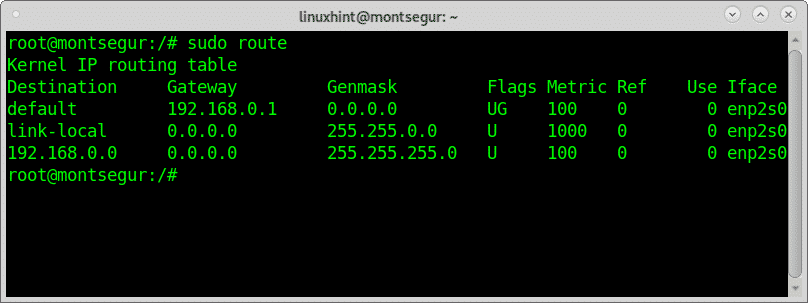
To print the routing table on Linux run:
As you can see the default gateway is 192.168.0.1, it is the router, the first hop through which the traffic passes before going to the next hop or final node.
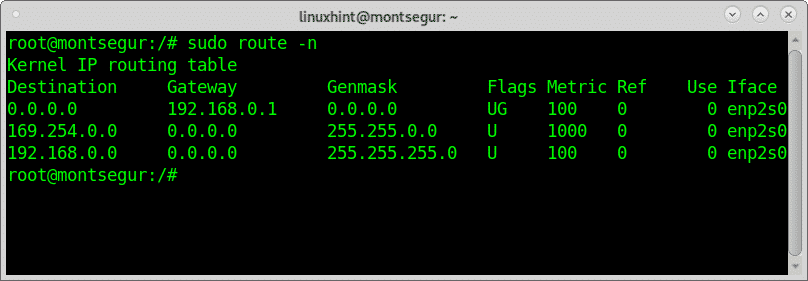
By applying the flag -n (numerical) you can replace the destination domain name for IP addresses:
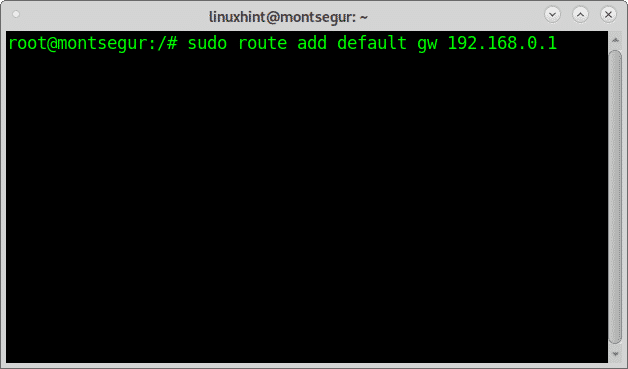
If you join a wired network with your Linux device, the DHCP does not work you stay without internet, additionally to setting an IP address, netmask you may need to add a gateway you can copy from the configuration of any other connected device.
To add a default gateway such as a router run:
# sudo route add default gw
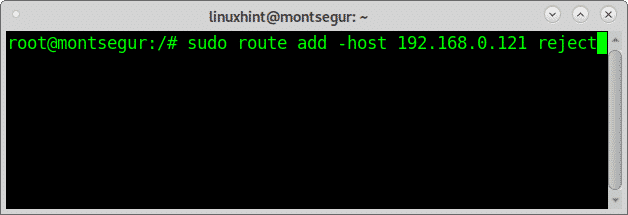
To block a host run:
# sudo route add -host 192.168.0.121 reject
Note: replace 192.168.0.121 for the host you want to block.
Some of the most popular flags include:
You can learn more about the route command on its man page.
The route replacement: ip route
Since the route command explained above is deprecated the ip route command is replacing it just as ip replaced ifconfig, or iw replaced iwconfig. Below you’ll see some examples of commands replacing the shown previously:
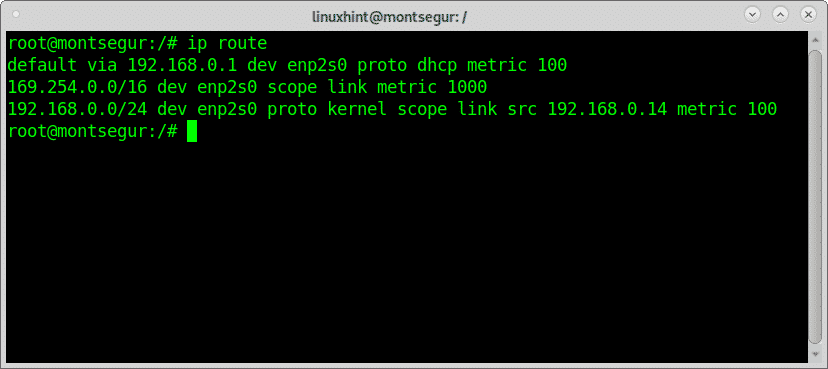
To display the routing table using the ip route command run:
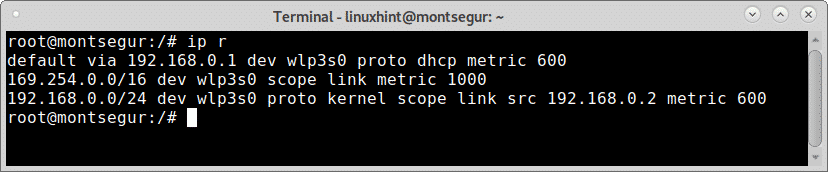
As you can see in the image above, like with route the default gateway is 192.168.0.1 which is the router. The same can be achieved by using only the letter r:
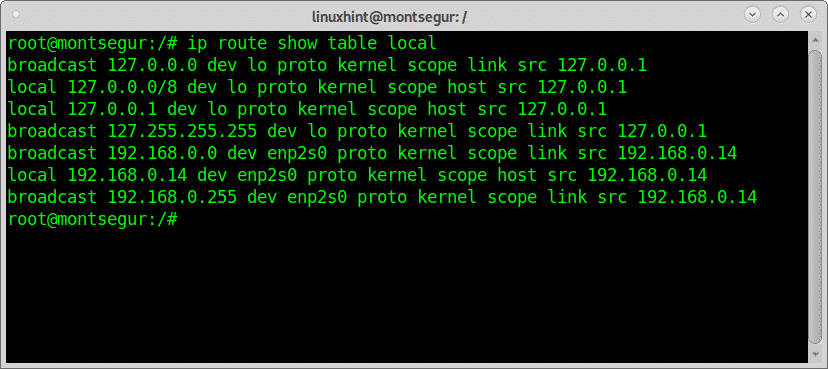
If you want to display the local table, which contains the destination addresses assigned to the local host you can run:
# ip route show table local
As you can see all printed addresses belong to the local device.
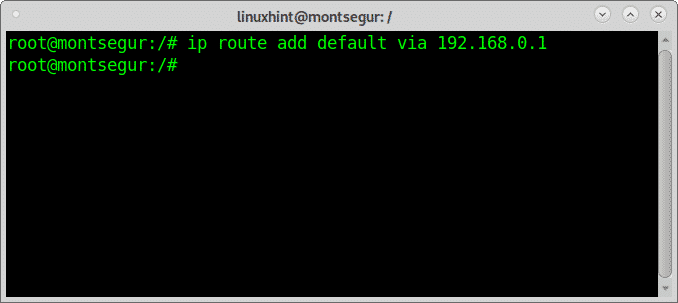
To add a default gateway using the command ip route run:
# ip route add default via <Gateway-IP>
In my case:
# ip route add default via 192.168.0.1
You can remove the default gateway by replacing “add” for “delete”.
Ip route allows to assign the default route to additional interfaces,for this run:
# ip route add default dev enp2s0
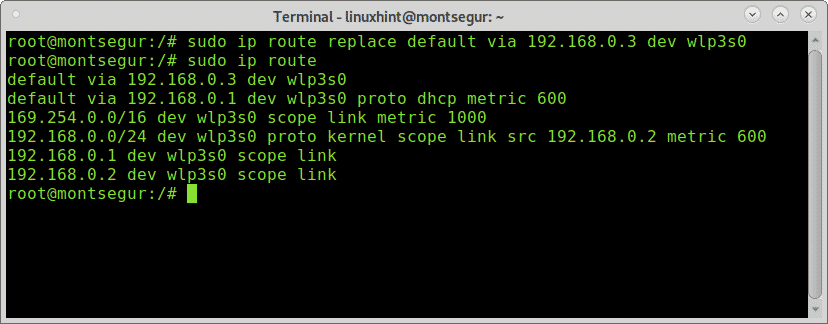
You can also replace the default gateway by adding the flag replace as shown in the following example:
# sudo ip route replace default via 192.168.0.3 dev wlp3s0
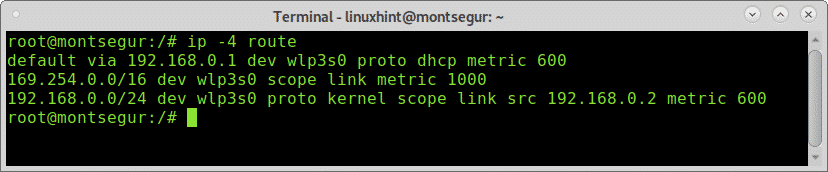
You can also instruct ip route to show only an output related to the IPv4 or IPv6 protocols specifically.
For IPv4
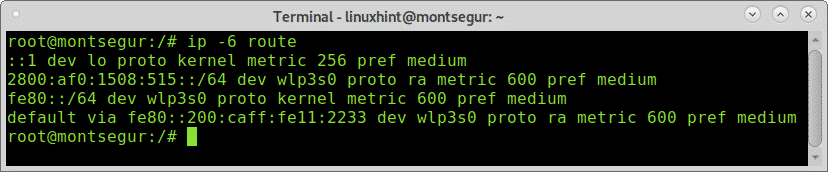
For IPv6 the syntax is the same:
To add an IPv6 gateway run:
# ip -6 route add default via <IP-Address>
If you want to block an address you can run:
# ip route add prohibit <IP-Address>
You can also block from a specific source:
# ip route add prohibit <Destination-IP> from <Source-IP>
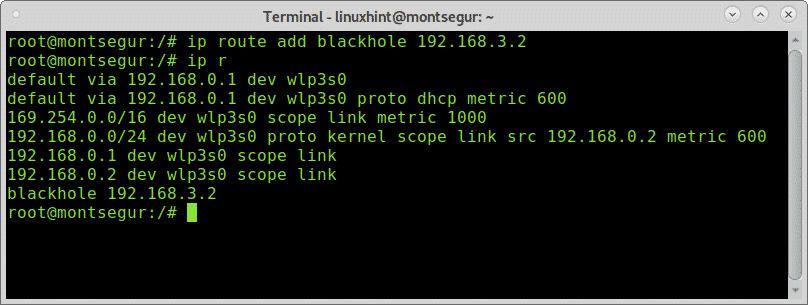
Blackhole filtering with ip route:
Blackhole filtering is when a firewall or routing device discards traffic intentionally based on defined rules, usually for security purposes.
Using both the command route and ip route in Linux you can create blackhole filtering rules.
The first example shows a blackhole filter for both incoming and outgoing packets form ip address 192.168.3.2:
# ip route add blackhole 192.168.3.2
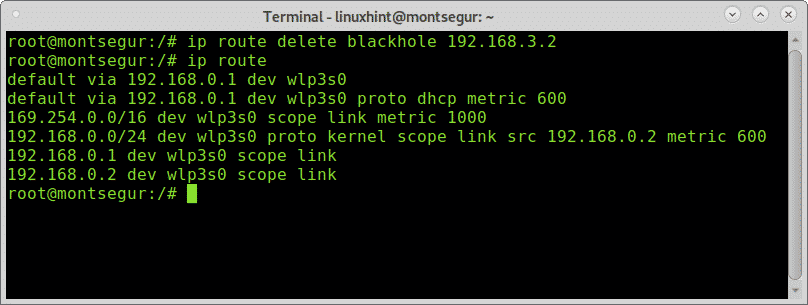
To remove a blackhole filter run:
# ip route delete blackhole 192.168.3.2
As you can see after checking the blackhole was removed.
The ip route command is more complex than the former route, the man page clarifies all of the many options it contains, you can also access it online at https://manpages.debian.org/jessie/iproute2/ip-route.8.en.html.
I hope you found this brief article About Linux Command: route useful.
Keep following LinuxHint for additional updates and tips on Linux and Networking.
About the author
Ivan Vanney
Ivan Vanney has over 2 years as writer for LinuxHint, he is co-founder of the freelance services marketplace GIGopen.com where he works as a sysadmin.

")
