Terraform is the “Infrastructure as Code (IaC)” tool. It is used to build, manage and change infrastructure in a safe and repeatable way.
It is used to manage environments with a configuration language called the HashiCorp Configuration Language (HCL) for human-readable, automated deployments.
Terraform can be used to manage infrastructure on multiple clouds like AWS, GCP and others. Terraform creates a state file which is the source of truth for the resource configurations. This means whenever resources are created this state file is updated with the state of the resources being created.
In this article we will see the steps to install Terraform on Ubuntu and use it to create a VPC on AWS cloud.
To learn and know more about Terraform click here.
Pre-requisites
- AWS Account (Create if you don’t have one).
- An EC2 Instances (Click here to learn to create an EC2 Instance)
- Root access to the servers.
- ‘access_key’ & ‘secret_key’ of an AWS IAM User. (Click here to learn to create an IAM user with ‘access_key’ & ‘secret_key’ on AWS, )
What we will do
- Install Terraform
- Write Terraform configuration files.
- Create a VPC using the Terraform configuration files
- Delete the created VPC using Terraform
Install Terraform
Installing Terraform is pretty simple and straight. You can find the suitable package for your system from here.
Before downloading the file let’s install the ‘wget’ and ‘unzip’ package if not available on the system using the following commands.
apt-get update -y
apt-get install wget unzip -y
Let’s create a dedicated directory ‘terraform’ under ‘/opt/’ where we can download the package
cd /opt/
mkdir terraform
cd terraform/
Download the terraform package using ‘wget’ command and unzip it.
wget https://releases.hashicorp.com/terraform/0.12.18/terraform_0.12.18_linux_amd64.zip
unzip terraform_0.12.18_linux_amd64.zip
ls -lt
<img alt="Download Terraform" data-ezsrc="https://kirelos.com/wp-content/uploads/2021/11/echo/Screenshot_2020-04-07_at_6.16_.28_PM_.png619249d531eee.jpg" ezimgfmt="rs rscb5 src ng ngcb5" height="140" loading="lazy" src="data:image/svg xml,” width=”750″>
Once you unzip the package you downloaded you will see a binary ‘terraform’. Move this binary to /usr/local/bin/.
You can verify if the installation was successful or not using terraform command but checking its version.
mv terraform /usr/local/bin/
terraform -v
Write Terraform configuration files
Create a dedicated directory where you can create terraform configuration files
mkdir terraform
cd terraform/
Use an editor of your choice and copy-paste the following configurations to create variables.tf, terraform.tfvars and main.tf
Create ‘main.tf’ which is responsible to create VPC on to AWS. The following configuration will create a VPC, internet gateway ,route table, availability zone and security group. This main.tf will read values of variables from variables.tf and terraform.tfvars.
vim main.tf
provider "aws" {
      region     = "${var.region}"
      access_key = "${var.access_key}"
      secret_key = "${var.secret_key}"
}
resource "aws_vpc" "vpc" {
     cidr_block = "10.0.0.0/16"
}
resource "aws_internet_gateway" "gateway" {
     vpc_id = "${aws_vpc.vpc.id}"
}
resource "aws_route" "route" {
     route_table_id         = "${aws_vpc.vpc.main_route_table_id}"
     destination_cidr_block = "0.0.0.0/0"
     gateway_id             = "${aws_internet_gateway.gateway.id}"
}
data "aws_availability_zones" "available" {}
resource "aws_subnet" "main" {
    count                   = "${length(data.aws_availability_zones.available.names)}"
    vpc_id                  = "${aws_vpc.vpc.id}"
    cidr_block              = "10.0.${count.index}.0/24"
    map_public_ip_on_launch = true
    availability_zone       = "${element(data.aws_availability_zones.available.names, count.index)}"
}
resource "aws_security_group" "default" {
     name        = "http-https-allow"
     description = "Allow incoming HTTP and HTTPS and Connections"
     vpc_id      = "${aws_vpc.vpc.id}"
     ingress {
         from_port = 80
         to_port = 80
         protocol = "tcp"
         cidr_blocks = ["0.0.0.0/0"]
    }
     ingress {
         from_port = 443
         to_port = 443
         protocol = "tcp"
         cidr_blocks = ["0.0.0.0/0"]
    }
}
Create ‘variables.tf‘ which contains the declaration of the variables.Advertisement
vim variables.tf
variable "access_key" {
     description = "Access key to AWS console"
}
variable "secret_key" {
     description = "Secret key to AWS console"
}
variable "region" {
     description = "Region of AWS VPC"
}
Create ‘terraform.tfvars’ which contains the definition of the variable defined in the above file.
vim terraform.tfvars
region = "eu-west-3"
access_key = "AKIAQ6GAIA5XDX32PVJ6"
secret_key = "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"
Now, you should have 3 files, viz, variables.tf, terraform.tfvars and main.tf
Create a VPC using the Terraform configuration files
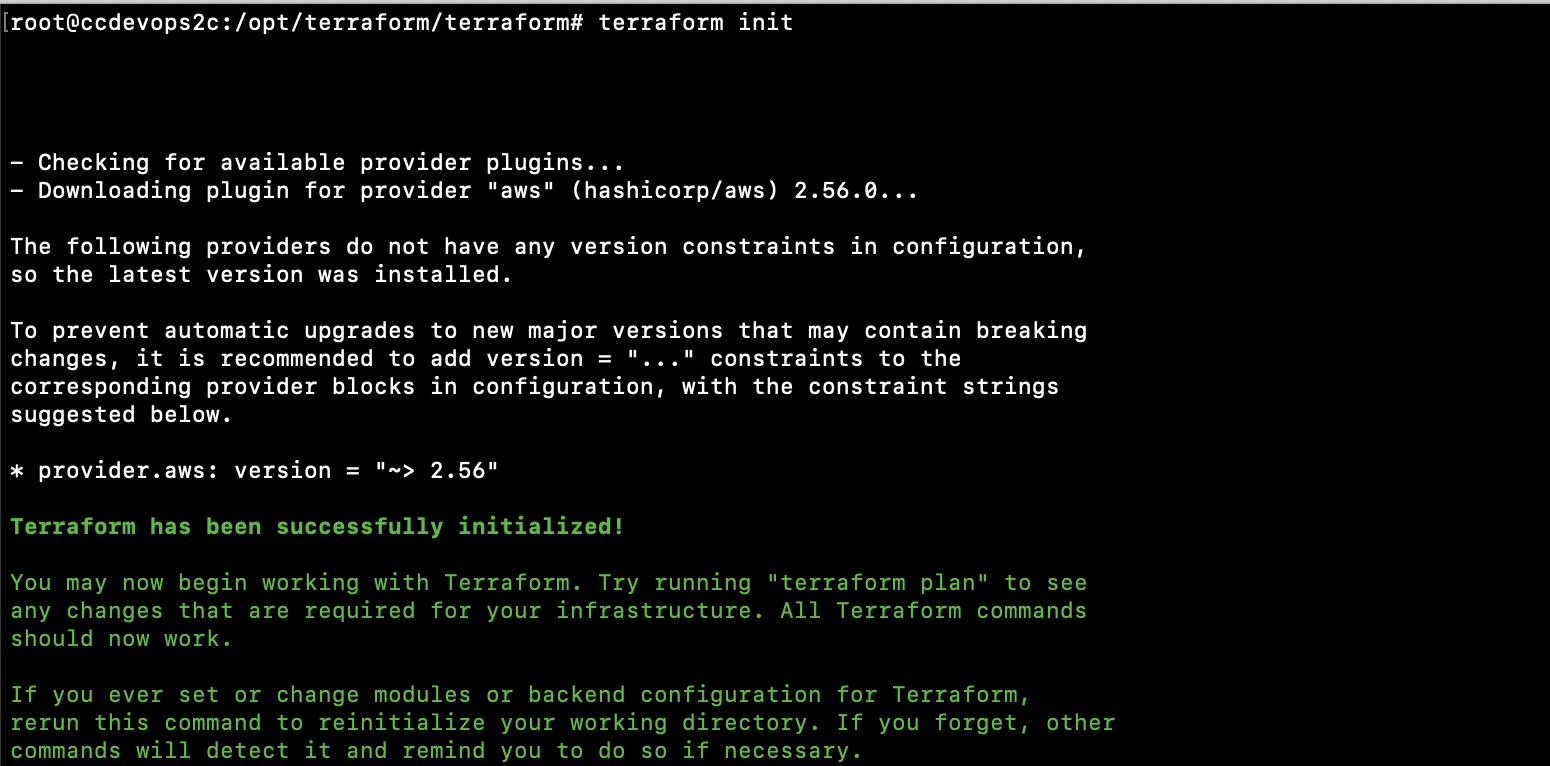
The first command to be used is ‘terraform init’. This command downloads and installs plugins for providers used within the configuration. In our case it is aws.
terraform init
The second command to be used is ‘terraform plan’. This command is used to see the changes that will take place on the infrastructure.
terraform plan
‘terraform apply’ command will create the resources on the aws mentioned in the main.tf file. You will be prompted to provide your input to create the resources.
terraform apply
You can go to the AWS VPC console to verify if the VPC is created.
Delete the created VPC using Terraform
If you know more required resources you created using the configuration mentioned in the main.tf file, You can use the “terraform destroy” command to delete all those resources.
terraform destroy
Conclusion
In this article we saw the steps to install Terraform. We also saw the required configuration to create a VPC along with a few other related resources to it. Now we are also familiar with variable declaration and definition.


