
Load Balancer falls under the EC2 service of AWS. A Network Load Balancer works at the fourth layer of the Open Systems Interconnection (OSI) model, the Transport Layer. It opens a TCP connection to the selected target on the port specified in the listener configuration. If there are unhealthy targets, then the Network Load Balancer stops routing requests to those unhealthy targets and starts sending the traffic to the healthy instances only in the same or different Availability Zone. Network Load Balancer supports static IP addresses, it allows registering targets by IP address i.e. targets outside the VPC of the load balancer can also be added, it scales to millions of requests per second. These are a few of the benefits of the Network Load Balancer. Network Load Balancer is also called a TCP Load Balancer as it works on TCP protocol.
To know more about the Network Load Balancer, click here.
Using Network Load Balancer, we only pay for what we use. To know the pricing in detail, click here
In this article, we will see the steps to create a Network Load Balancer, register instances, and access the Load Balancer using its DNS.
Pre-requisites
- AWS Account (Create if you don’t have one).
- One or more than one EC2 instance with Apache running on them.
What we will do?
- Login to AWS.
- Create a Network Load Balancer and access the Apache Application using DNS of the Load Balancer.
Login to AWS
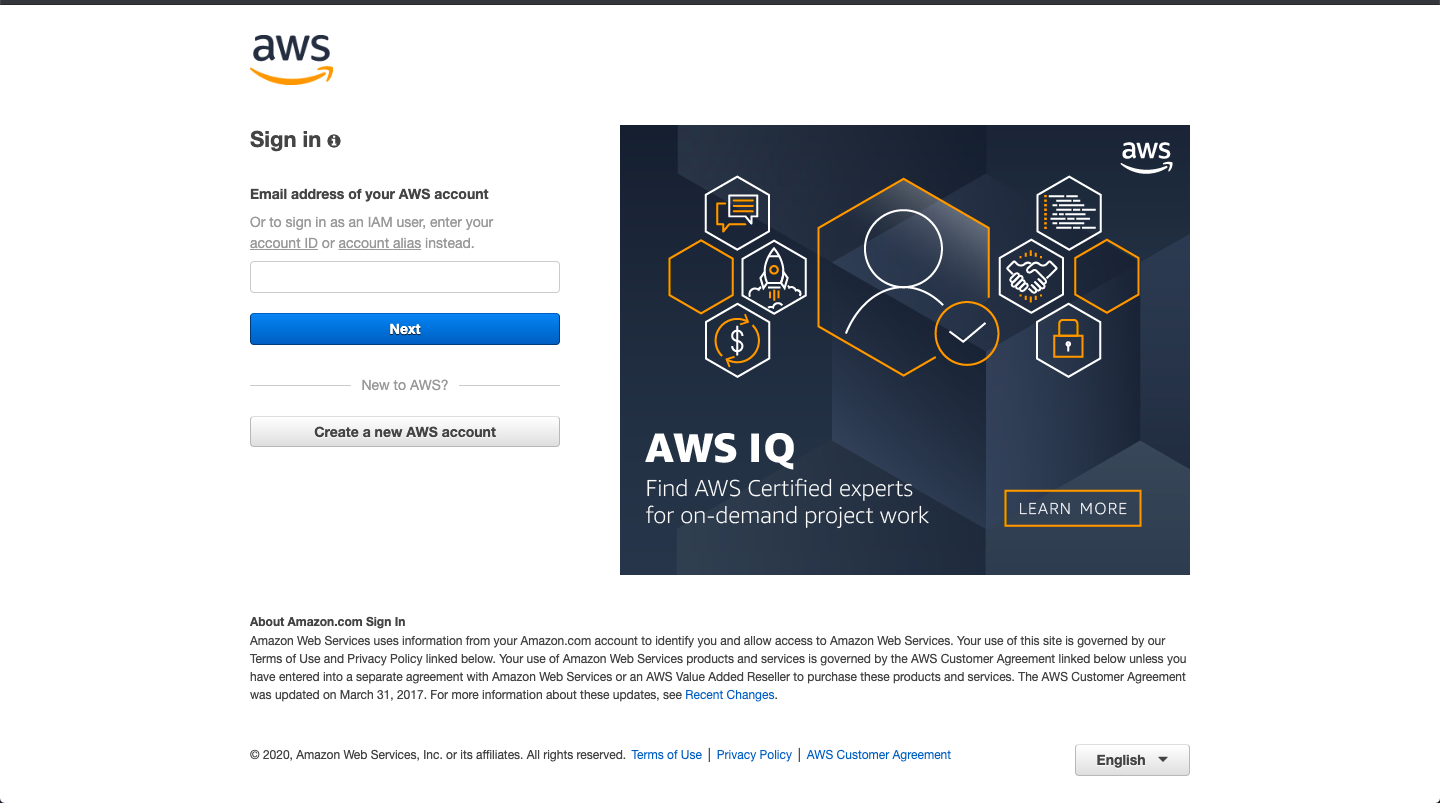
- Click here to go to AWS Login Page.
When we hit the above link, we will see a web page as follows where we are required to login using our login details.
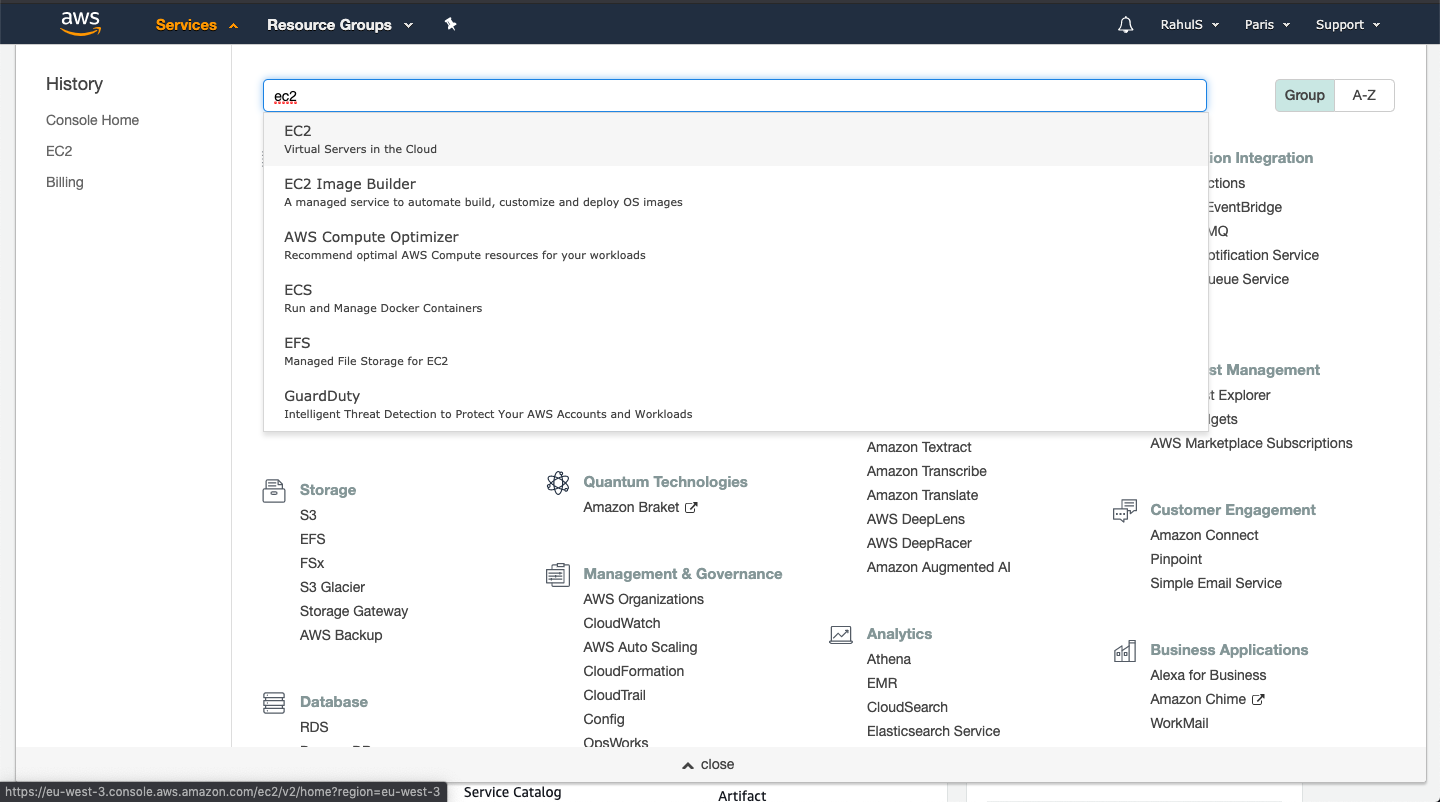
Once we login into AWS successfully, we will see the main console with all the services listed.
Create a Network Load Balancer and access the Apache Application using DNS of the Load Balancer
To create a Network Load Balancer, search for “ec2” under Services option available at the top left side.
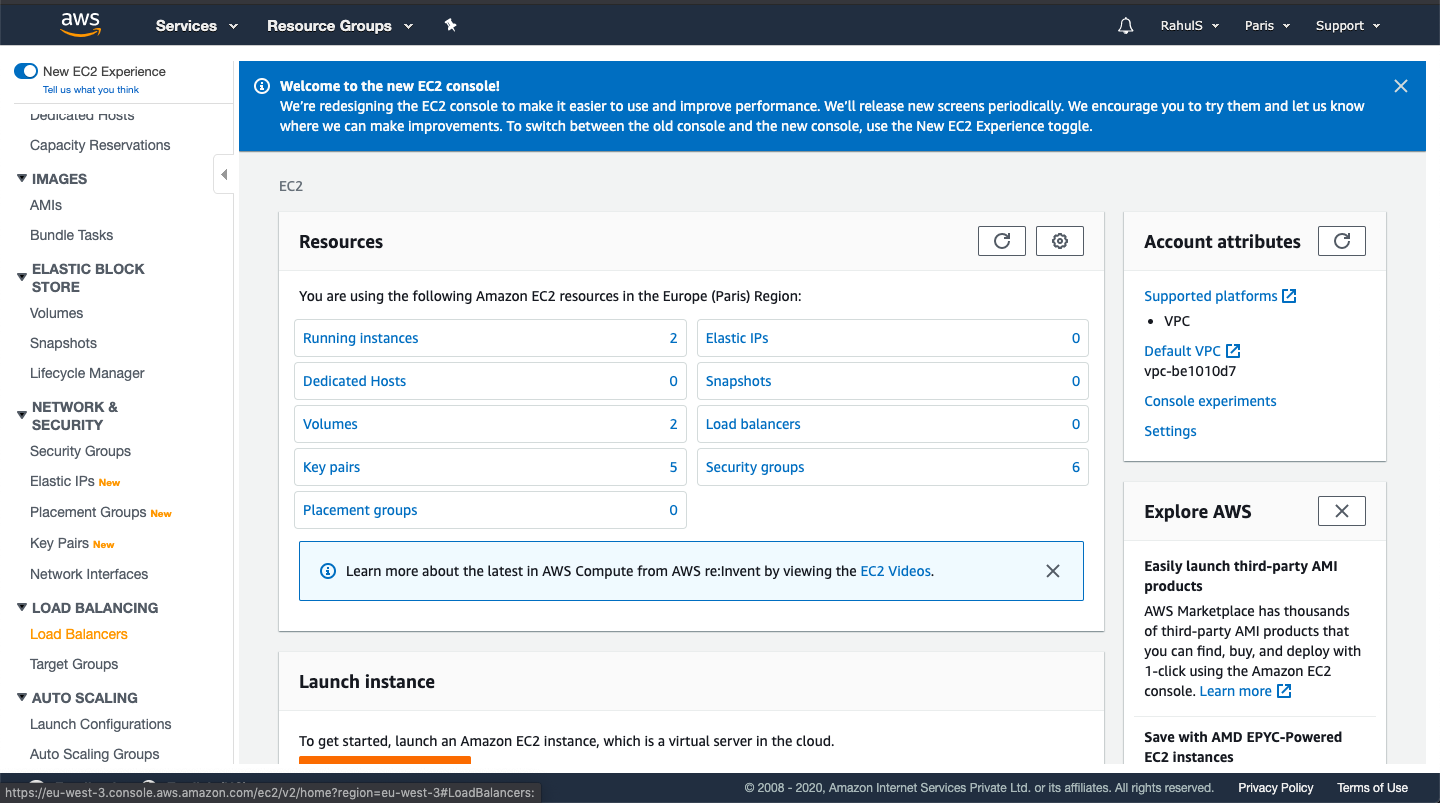
You will see the main EC2 Dashboard. Here you can see the complete summary of the EC2 service. Scroll down and click on “Load Balancers” to create a Load Balancer.
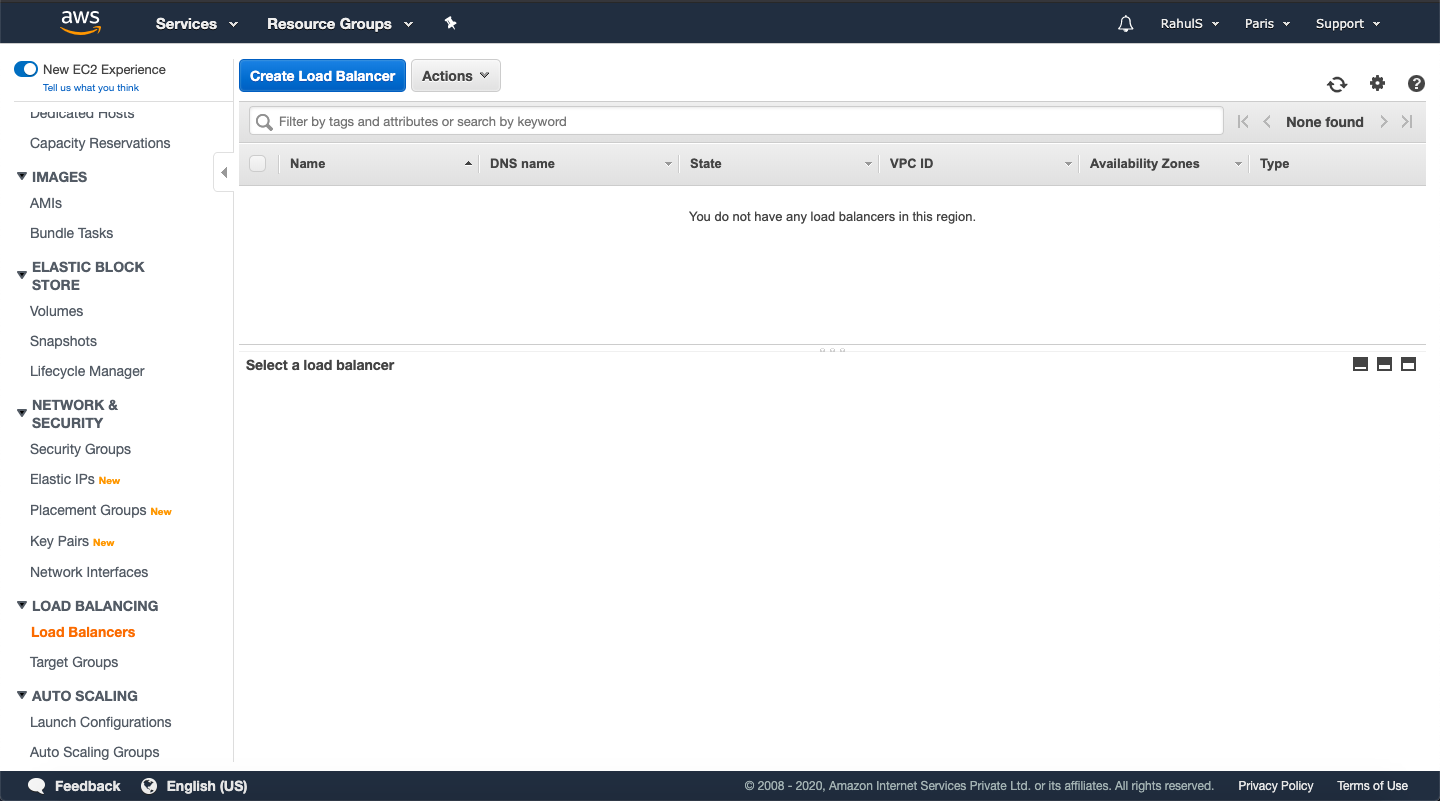
Here, click on the “Create Load Balancer” button to go to the page where you can configure and create a load balancer.
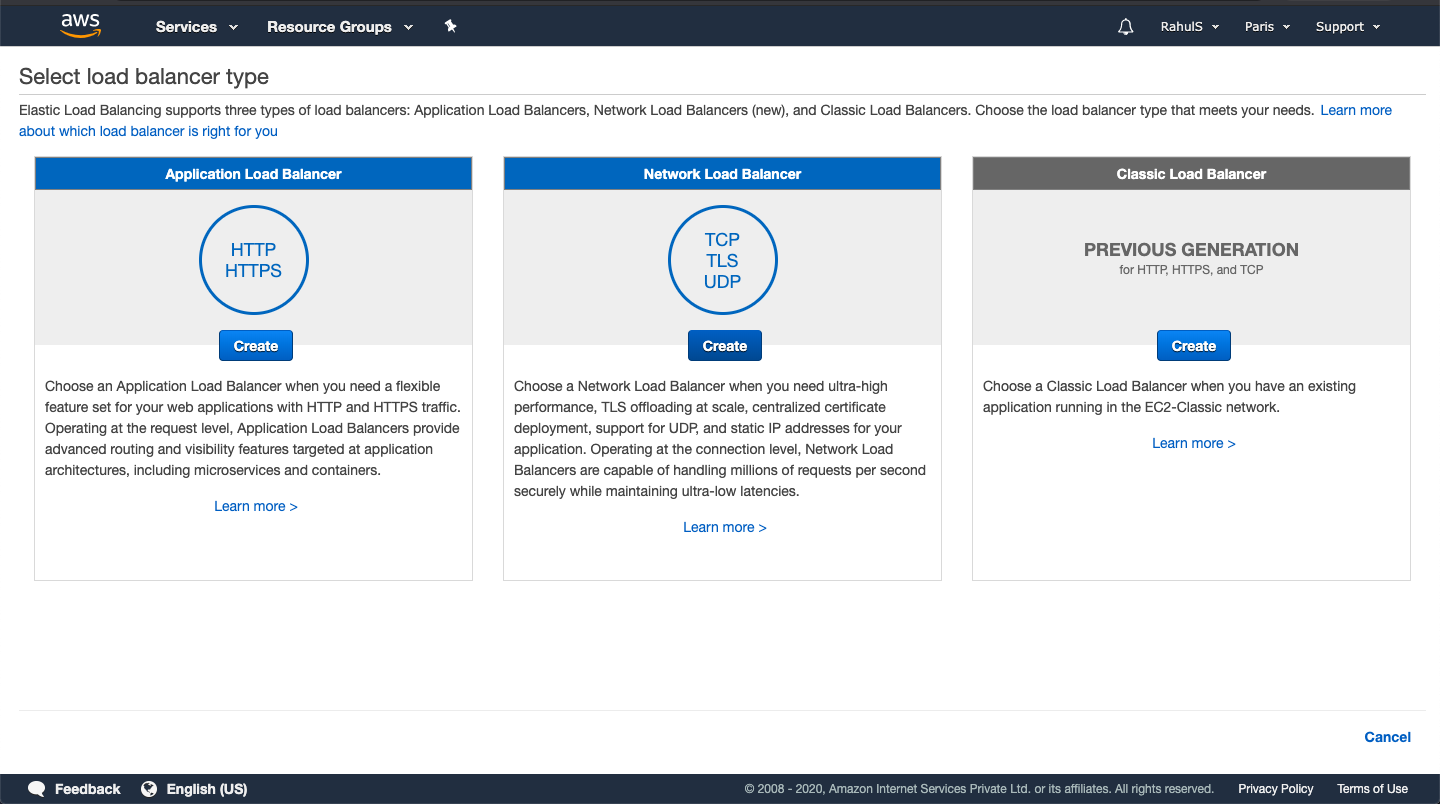
Click on the “Create” button available under “Network Load Balancer”. There are two more types of load balancers, but we are not going to discuss them in this article.
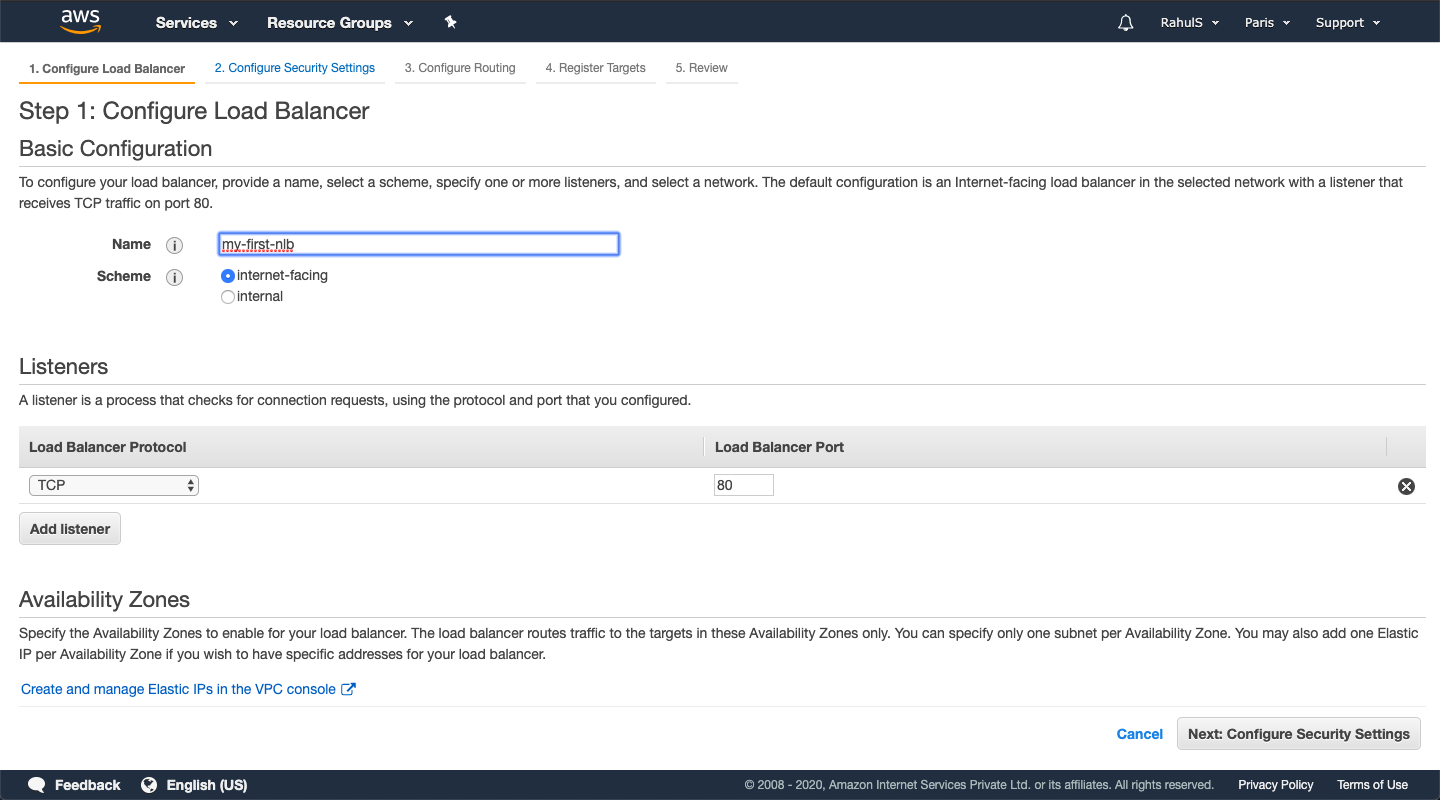
Give a name to the load balancer to be created, select “internet-facing” scheme so that requests coming from the internet can be forwarded and served by the load balancer. If you select an “internal” scheme then the requests from the internet can not be served by the load balancer. Load Balancer with “internal” scheme can only be accessed from the VPC in which it is created. Scroll down the page to select Availability Zones.
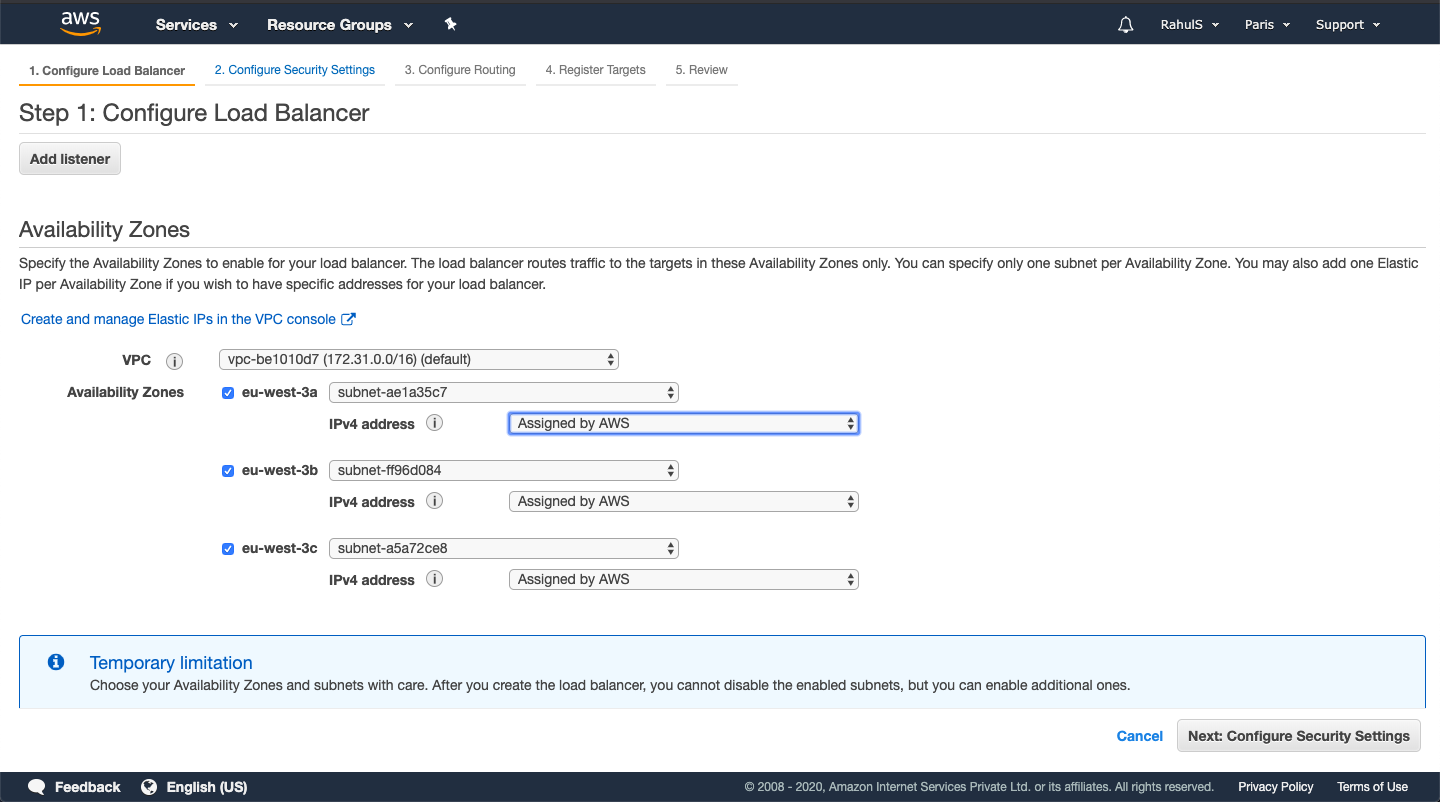
Here, select two or more Availability Zones. I have selected three here. Click on “Next: Configure Security Settings” to proceed further.
We can ignore this warning if we are setting up a Test Environment. In the Prod Environment, we should always use TLS Protocol, and also this warning will not be displayed then. Click on “Next: Configure Routing”
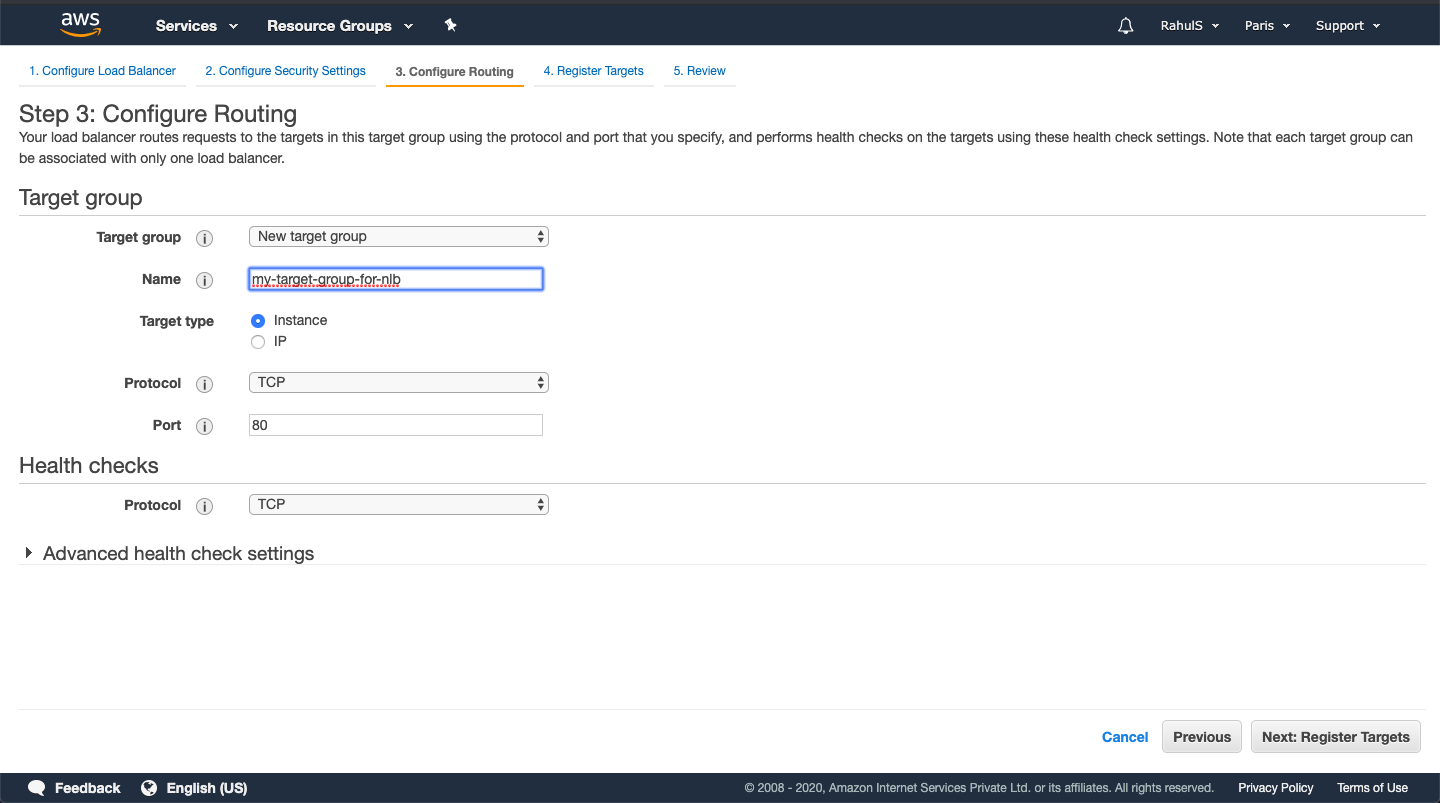
Here, specify a unique target name that does not match with any other target group name in this region. Keep other settings as is and click on “Next: Register Targets”. If you want to add instances with their IPs, you can select “IP” in Target Type.
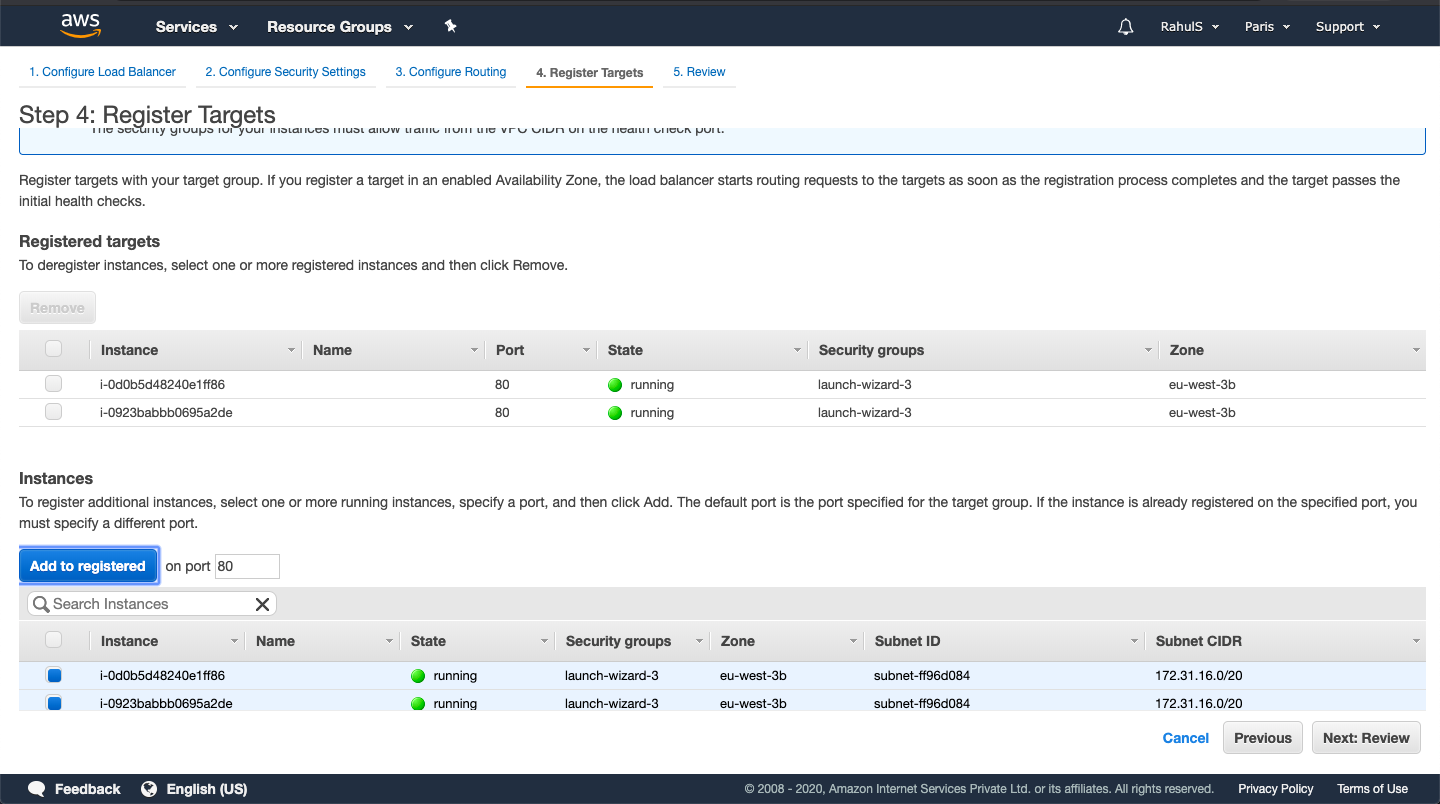
Select the instances from the list running your Apache Application and click on “Add to registered”. Click on “Next: Review” to proceed.
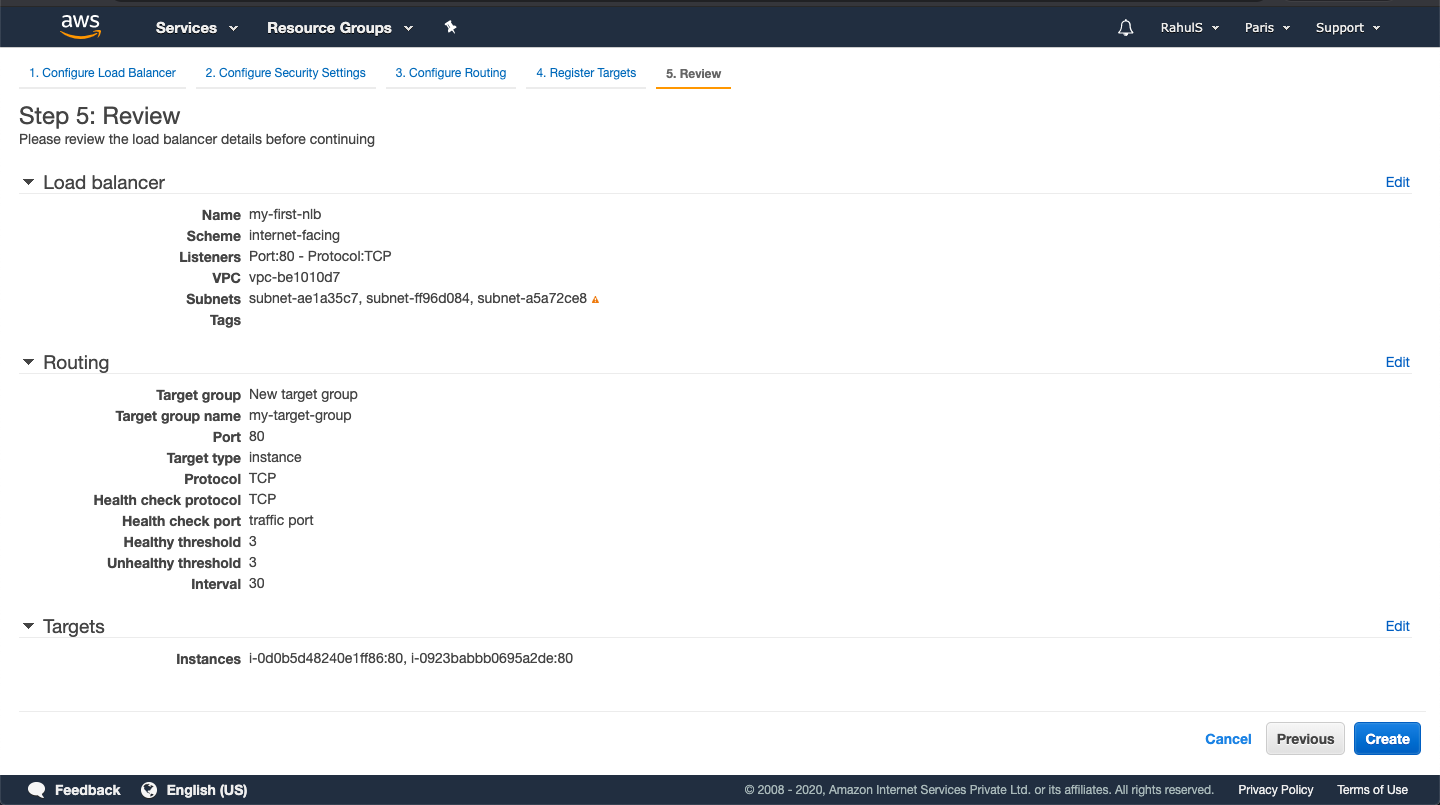
Review all the configurations here and click on “Create” to create a Network Load Balancer.
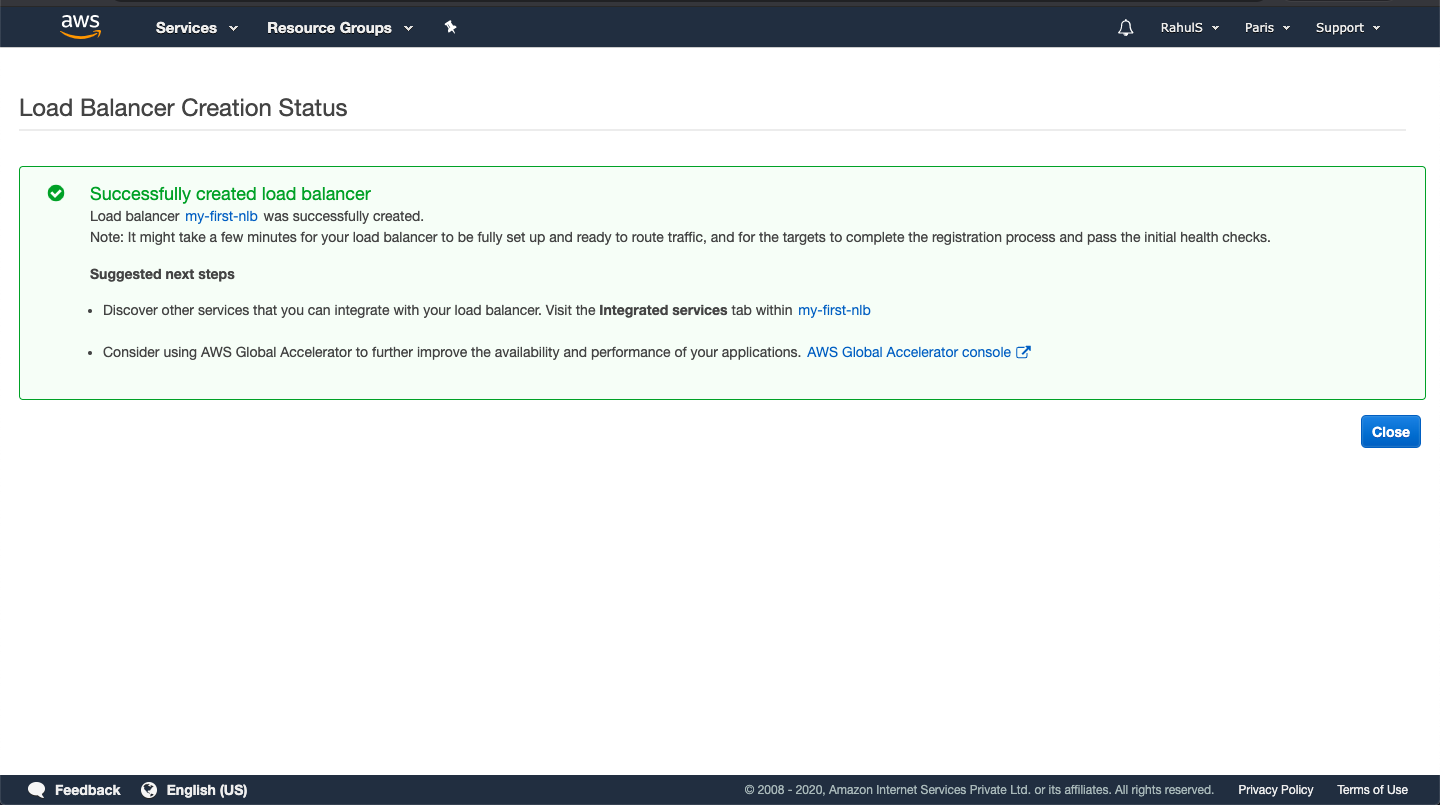
Click on “Close” button to close this window to go to the main dashboard of Load Balancers.
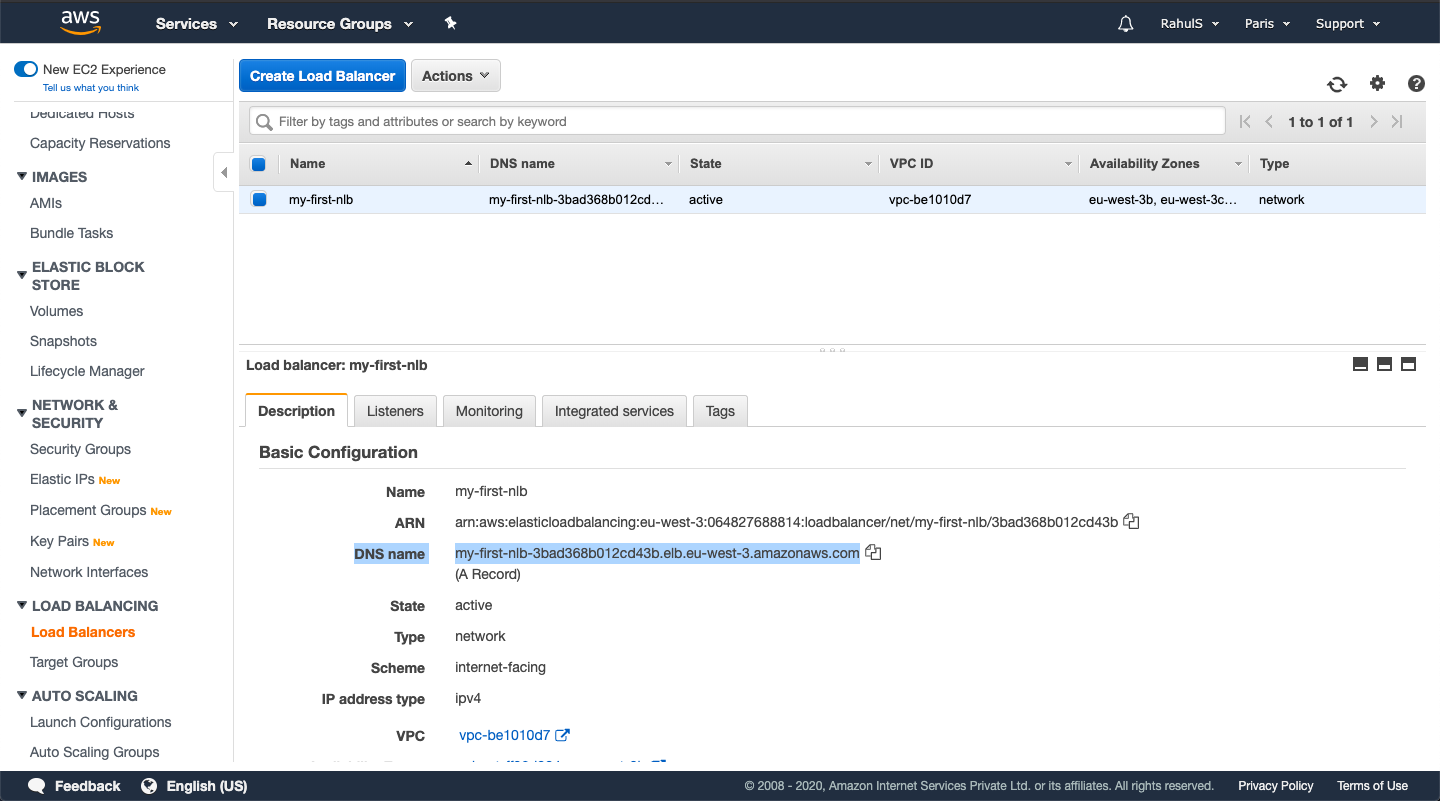
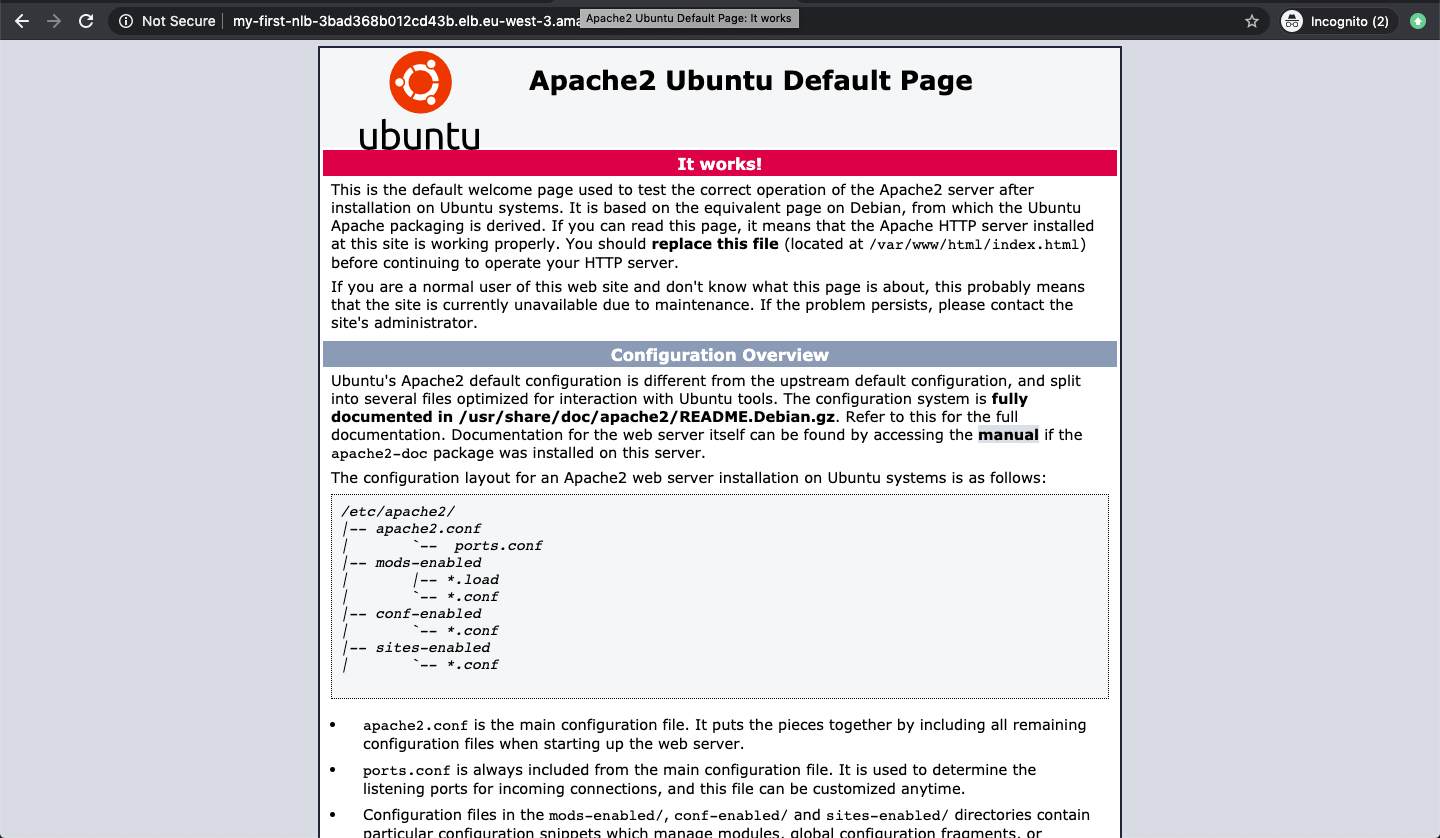
Once the State of the load balancer changes to “active”, you can check for the targets and their status in the Target Group. Once the targets are healthy, this will take some time, you can copy the DNS from the Description tab and hit it in the browser.
Here, you can see that the Apache Application is server through the Network Load Balancer.
Conclusion
In this article, we saw the steps to create a Network Load Balancer, register targets to it, and access it using the DNS of it.


