
JupyterLab is a next-generation web-based development environment for Project Jupyter. Project Jupyter was developed with the goal to develop open-source, open standards, and services for interactive computing across multiple programming languages. JupyterLab offers a flexible interface that allows developers to work with documents and activities such as Jupyter notebooks, text editors, terminals, and custom components in a flexible, integrated, and extensible manner. JupyterLab is the next generation of Jupyter Notebook and is supposed to eventually replace it. It supports over 40 programming languages, including R, Python, Scala, and Julia.
This tutorial will teach you how to install and configure JupyterLab on a Rocky Linux 9 server.
Prerequisites
-
A server running Rocky Linux 9.
-
A non-root user with sudo privileges.
-
A fully qualified domain name (FQDN) pointing to your server. For our purposes, we will use
jupyterlab.example.comas the domain name. -
SELinux is disabled.
-
Make sure everything is updated.
$ sudo dnf update
-
Install basic utility packages. Some of them may already be installed.
$ sudo dnf install wget curl nano unzip yum-utils -y
Step 1 – Configure Firewall
The first step is to configure the firewall. Rocky Linux uses Firewalld Firewall. Check the firewall’s status.
$ sudo firewall-cmd --state
running
The firewall works with different zones, and the public zone is the default one that we will use. List all the services and ports active on the firewall.
$ sudo firewall-cmd --permanent --list-services
It should show the following output.
cockpit dhcpv6-client ssh
Wiki.js needs HTTP and HTTPS ports to function. Open them.
$ sudo firewall-cmd --add-service=http --permanent
$ sudo firewall-cmd --add-service=https --permanent
Reload the firewall to apply the changes.
$ sudo firewall-cmd --reload
Step 2 – Install Nginx
Rocky Linux 9 ships with an older version of Nginx. You need to download the official Nginx repository to install the latest version.
Create and open the /etc/yum.repos.d/nginx.repo file for creating the official Nginx repository.
$ sudo nano /etc/yum.repos.d/nginx.repo
Paste the following code in it.
[nginx-stable]
name=nginx stable repo
baseurl=http://nginx.org/packages/centos/$releasever/$basearch/
gpgcheck=1
enabled=1
gpgkey=https://nginx.org/keys/nginx_signing.key
module_hotfixes=true

[nginx-mainline]
name=nginx mainline repo
baseurl=http://nginx.org/packages/mainline/centos/$releasever/$basearch/
gpgcheck=1
enabled=0
gpgkey=https://nginx.org/keys/nginx_signing.key
module_hotfixes=true
Save the file by pressing Ctrl X and entering Y when prompted.
Install the Nginx server.
$ sudo dnf install nginx -y
Verify the installation.
$ nginx -v
nginx version: nginx/1.22.1
Enable and start the Nginx server.
$ sudo systemctl enable nginx --now
Check the status of the server.
$ sudo systemctl status nginx
? nginx.service - nginx - high performance web server
     Loaded: loaded (/usr/lib/systemd/system/nginx.service; enabled; vendor preset: disabled)
     Active: active (running) since Tue 2022-12-13 06:07:05 UTC; 31s ago
       Docs: http://nginx.org/en/docs/
    Process: 146475 ExecStart=/usr/sbin/nginx -c /etc/nginx/nginx.conf (code=exited, status=0/SUCCESS)
   Main PID: 146476 (nginx)
      Tasks: 2 (limit: 5911)
     Memory: 1.9M
        CPU: 15ms
     CGroup: /system.slice/nginx.service
             ??146476 "nginx: master process /usr/sbin/nginx -c /etc/nginx/nginx.conf"
             ??146477 "nginx: worker process"
Step 3 – Install JupyterLab
Let us check the python version first.
$ python -V
Python 3.9.14
Install the PIP package manager.
$ sudo dnf install python3-pip
Create a directory for JupyterLab.
$ mkdir jupyterlab
Switch to the newly created directory.
$ cd ~/jupyterlab
Set up a virtual environment called jupyterlab_env.
$ python3 -m venv --system-site-packages jupyterlab_env
Activate the environment.
$ source jupyterlab_env/bin/activate
Upgrade the Pip package manager.
(jupyterlab_env) $ pip install --upgrade pip
Install JupyterLab.
(jupyterlab_env) $ pip install jupyterlab
Step 4 – Configure JupyterLab
By default, JupyterLab generates a new token, every time you start it to grant access to the interface. Let us replace it with password authentication.
Generate a password hash. Replace YOUR_PASSWORD with a strong password of your choosing.
(jupyterlab_env) $ python3 -c "from jupyter_server.auth import passwd; print(passwd('YOUR_PASSWORD'))"
The above command will generate a long password hash. It uses the Argon2 password hashing function. Note down the hash.
Create a JupyterLab configuration file.
(jupyterlab_env) $ jupyter lab --generate-config
The above command will generate a configuration file with default values and save it in the ~/.jupyter directory.
Open the file for editing.
(jupyterlab_env) $ nano ~/.jupyter/jupyter_lab_config.py
Find the following variables, uncomment them, and change their value as below. Replace PASSWORD_HASH with the hash generated above.
c.ServerApp.allow_remote_access = True

c.ServerApp.password = 'PASSWORD_HASH'
Save the file by pressing Ctrl X and entering Y when prompted.
Open port 8888 in the firewall.
$ sudo firewall-cmd --add-port=8888/tcp --permanent
$ sudo firewall-cmd --reload
Run the JupyterLab server. The --ip 0.0.0.0 parameter allows it to listen to any IP address and not just localhost.
$ jupyter lab --ip 0.0.0.0
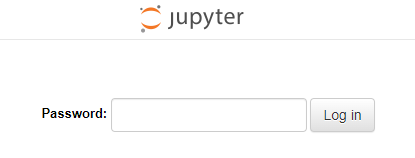
The above command spawns a JupyterLab server on the default port 8888 which we have opened. Launch the URL http://:8888/ in your browser and you will see the following screen.
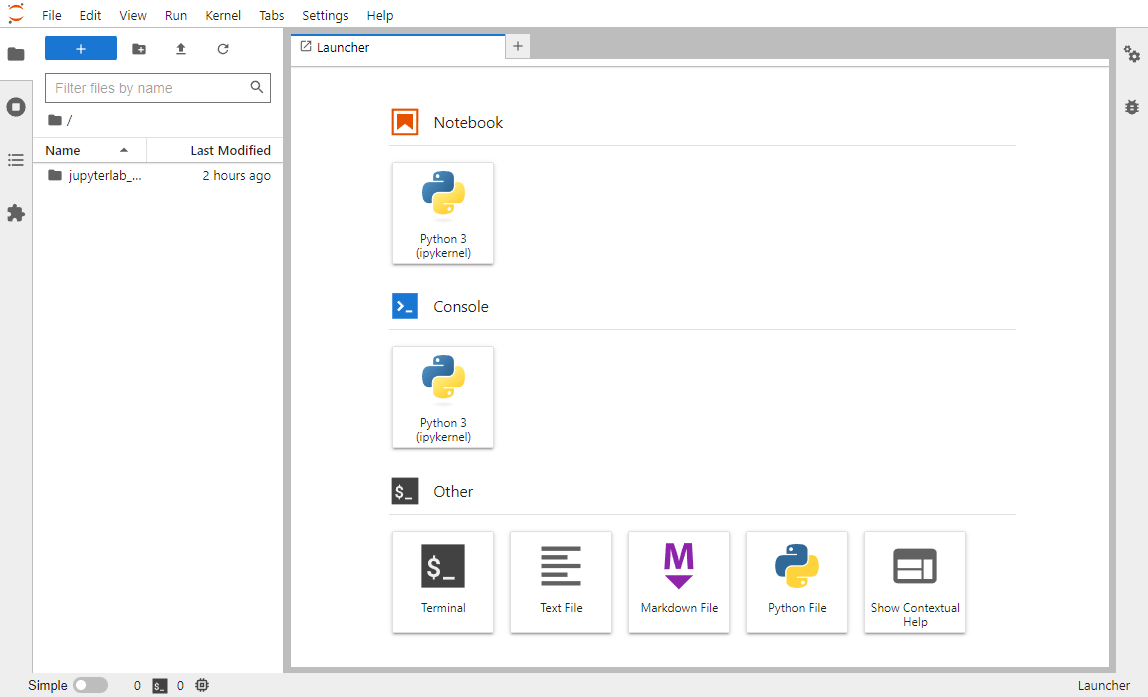
Enter your password and click the Login button to open the JupyterLab interface.
Now that the access is confirmed, press Ctrl C to stop the server and enter y when prompted to stop.
Step 5 – Create JupyterLab service file
Exit the virtual environment.
(jupyterlab_env) $ deactivate
Create a new service file for JupyterLab.
$ sudo nano /lib/systemd/system/jupyterlab.service
Paste the following code in it.
[Unit]
Description=JupyterLab Server

[Service]
User=USER
Group=USER
Type=simple
WorkingDirectory=/home/USER/jupyterlab
ExecStart=/home/USER/jupyterlab/jupyterlab_env/bin/jupyter-lab --config=/home/USER/.jupyter/jupyter_lab_config.py
StandardOutput=null
Restart=always
RestartSec=10

[Install]
WantedBy=multi-user.target
Save the file by pressing Ctrl X and entering Y when prompted.
Replace USER with your system’s current logged-in user.
Initialize the JupyterLab service.
$ sudo systemctl daemon-reload
Enable and start the JupyterLab service.
$ sudo systemctl enable jupyterlab --now
Check the status of the service.
$ sudo systemctl status jupyterlab
? jupyterlab.service - JupyterLab Server
     Loaded: loaded (/usr/lib/systemd/system/jupyterlab.service; disabled; vendor preset: disabled)
     Active: active (running) since Tue 2022-12-13 11:45:26 UTC; 5s ago
   Main PID: 151675 (jupyter-lab)
      Tasks: 1 (limit: 5911)
     Memory: 59.0M
        CPU: 1.943s
     CGroup: /system.slice/jupyterlab.service
             ??151675 /home/navjot/jupyterlab/jupyterlab_env/bin/python3 /home/navjot/jupyterlab/jupyterlab_env/bin/jupyter-lab --config=/home/navjot/.jupyter/jupyter_lab_config.py

Dec 13 11:45:26 jupyter.example.com systemd[1]: Started JupyterLab Server.
Step 6 – Install SSL
Before proceeding, we need to install the Certbot tool and an SSL certificate for our domain.
To install Certbot, we will use the Snapd package installer. Snapd always carries the latest stable version of Certbot and you should use that.
Snapd tool requires the Epel repository to work.
$ sudo dnf install epel-release -y
We will use Snapd to install Certbot. Install Snapd.
$ sudo dnf install snapd -y
Enable and Start the Snap service.
$ sudo systemctl enable snapd.socket --now
Create necessary links for Snapd to work.
$ sudo ln -s /var/lib/snapd/snap /snap
$ echo 'export PATH=$PATH:/var/lib/snapd/snap/bin' | sudo tee -a /etc/profile.d/snapd.sh
Ensure that your version of snapd is up to date.
$ sudo snap install core
$ sudo snap refresh core
Install Certbot.
$ sudo snap install --classic certbot
Use the following command to ensure that the Certbot command can be run by creating a symbolic link to the /usr/bin directory.
$ sudo ln -s /snap/bin/certbot /usr/bin/certbot
Generate an SSL certificate.
$ sudo certbot certonly --nginx --agree-tos --no-eff-email --staple-ocsp --preferred-challenges http -m [email protected] -d jupyterlab.example.com
The above command will download a certificate to the /etc/letsencrypt/live/jupyterlab.example.com directory on your server.
Generate a Diffie-Hellman group certificate.
$ sudo openssl dhparam -dsaparam -out /etc/ssl/certs/dhparam.pem 4096
Do a dry run of the process to check whether the SSL renewal is working fine.
$ sudo certbot renew --dry-run
If you see no errors, you are all set. Your certificate will renew automatically.
Step 7 – Configure Nginx
Create and open the file /etc/nginx/conf.d/jupyterlab.conf for editing.
$ sudo nano /etc/nginx/conf.d/jupyterlab.conf
Paste the following code in the jupyterlab.conf file. Replace all instances of jupyterlab.example.com with your domain.
## enforce HTTPS
server {
  listen 80;
  listen [::]:80;
  server_name jupyterlab.example.com;
  return 301 https://$server_name$request_uri;
}

server {
  listen 443 ssl http2;
  listen [::]:443 ssl http2;
  server_name jupyterlab.example.com;

  access_log /var/log/nginx/jupyterlab.access.log;
  error_log /var/log/nginx/jupyterlab.error.log;
  client_max_body_size 20m;

  http2_push_preload on; # Enable HTTP/2 Server Push

  ssl_certificate     /etc/letsencrypt/live/jupyterlab.example.com/fullchain.pem;
  ssl_certificate_key /etc/letsencrypt/live/jupyterlab.example.com/privkey.pem;
  ssl_trusted_certificate /etc/letsencrypt/live/jupyterlab.example.com/chain.pem;
  ssl_session_timeout 1d;

  # Enable TLS versions (TLSv1.3 is required upcoming HTTP/3 QUIC).
  ssl_protocols TLSv1.2 TLSv1.3;

  # Enable TLSv1.3's 0-RTT. Use $ssl_early_data when reverse proxying to
  # prevent replay attacks.
  #
  # @see: https://nginx.org/en/docs/http/ngx_http_ssl_module.html#ssl_early_data
  ssl_early_data on;

  ssl_ciphers 'ECDHE-ECDSA-AES256-GCM-SHA384:ECDHE-RSA-AES256-GCM-SHA384:ECDHE-ECDSA-CHACHA20-POLY1305:ECDHE-RSA-CHACHA20-POLY1305:ECDHE-ECDSA-AES256-SHA384:ECDHE-RSA-AES256-SHA384';
  ssl_prefer_server_ciphers on;
  ssl_ecdh_curve X25519:prime256v1:secp384r1:secp521r1;
  ssl_session_cache shared:SSL:50m;
  ssl_session_tickets off;

  # OCSP Stapling ---
  # fetch OCSP records from URL in ssl_certificate and cache them
  ssl_stapling on;
  ssl_stapling_verify on;
  ssl_dhparam /etc/ssl/certs/dhparam.pem;

  add_header X-Early-Data $tls1_3_early_data;

  location / {
    proxy_set_header Host $http_host;
    proxy_set_header X-Real-IP $remote_addr;
    proxy_set_header Host $host;
    proxy_http_version 1.1;
    proxy_set_header Upgrade $http_upgrade;
    proxy_set_header Connection $connection_upgrade;
    proxy_set_header X-Scheme $scheme;
    proxy_buffering off;
    proxy_set_header X-Forwarded-Proto https;
    proxy_set_header X-Forwarded-For $proxy_add_x_forwarded_for;
    proxy_pass http://127.0.0.1:8888;
  }
}

# This block is useful for debugging TLS v1.3. Please feel free to remove this
# and use the `$ssl_early_data` variable exposed by NGINX directly should you
# wish to do so.
map $ssl_early_data $tls1_3_early_data {
  "~." $ssl_early_data;
  default "";
}
map $http_upgrade $connection_upgrade {
  default upgrade;
  '' close;
}
The above configuration will redirect all HTTP requests to HTTPS and will serve as a proxy for the JupyterLab service to serve it via your domain.
Save the file by pressing Ctrl X and entering Y when prompted.
Open the file /etc/nginx/nginx.conf for editing.
$ sudo nano /etc/nginx/nginx.conf
Add the following line before the line include /etc/nginx/conf.d/*.conf;.
server_names_hash_bucket_size 64;
Save the file by pressing Ctrl X and entering Y when prompted.
Verify your Nginx configuration.
$ sudo nginx -t
If you see no errors, it means you are good to go. Reload the Nginx server.
$ sudo systemctl reload nginx
You can now access JupyterLab by visiting the URL https://jupyterlab.example.com in your browser.
Conclusion
This concludes our tutorial on installing and configuring JupyterLab on a Rocky Linux 9 server and serving it using the Nginx proxy server. If you have any questions, post them in the comments below.


