
DokuWiki is a simple, easy-to-use, and highly versatile wiki software written in PHP. It is free, open-source, and uses a simple file format to store its data instead of using any database system. It offers a lot of features that help you to scale and optimize your wiki site easily. It is gaining popularity due to its clean and readable syntax. Using Dokuwiki, you can create your personal or business websites via the Dokuwiki web panel.
In this tutorial, we will show you how to install DokuWiki with Apache and the Let’s Encrypt SSL certificate on Ubuntu 22.04.
Prerequisites
- A server running Ubuntu 22.04.
- A valid domain name is pointed to your server.
- A root password is configured on your server.
Install Apache and PHP
First, you will need to install the Apache webserver, PHP, and other PHP libraries on your system. You can install all of them by running the following command:
apt-get install apache2 php php-gd php-xml php-json -y
after installing all the packages, start the Apache service and enable it to start at boot with the following command:
systemctl start apache2
systemctl enable apache2
Once you are done, you can proceed to the next step.
Install DokuWiki Ubuntu 22.04
Next, visit the DokuWiki official download page, copy the download URL and download the latest version of the DokuWiki with the following command:
wget https://download.dokuwiki.org/out/dokuwiki-24117f7f9e0362c4b1782ff29220b0ab.tgz
Once the download is completed, create a DokuWiki directory inside the Apache web root directory and extract the DokuWiki:
mkdir /var/www/html/dokuwiki
tar -xvzf dokuwiki-24117f7f9e0362c4b1782ff29220b0ab.tgz -C /var/www/html/dokuwiki/ --strip-components=1
Next, copy the sample .htaccess file with the following command:
cp /var/www/html/dokuwiki/.htaccess{.dist,}
Next, change the ownership of the dokuwiki to www-data:
chown -R www-data:www-data /var/www/html/dokuwiki
Once you are finished, you can proceed to the next step.
Create an Apache Virtualhost for DokuWiki
Next, you will need to create an Apache virtual host configuration file to serve the DokuWiki website. You can create it with the following command
nano /etc/apache2/sites-available/dokuwiki.conf
Add the following lines:
        ServerName    doku.example.com
        DocumentRoot  /var/www/html/dokuwiki


                AllowOverride All
                Require all denied


                Order allow,deny
                Deny from all


        ErrorLog   /var/log/apache2/dokuwiki_error.log
        CustomLog  /var/log/apache2/dokuwiki_access.log combined
Save and close the file when you are finished. Then, enable the DokuWiki virtual host configuration file and reload the Apache service with the following command:
a2ensite dokuwiki.conf
systemctl reload apache2
You can now check the Apache status using the following command:
systemctl status apache2
You should see the following output:
? apache2.service - The Apache HTTP Server
     Loaded: loaded (/lib/systemd/system/apache2.service; enabled; vendor preset: enabled)
     Active: active (running) since Sat 2022-06-25 15:44:31 UTC; 4min 30s ago
       Docs: https://httpd.apache.org/docs/2.4/
    Process: 52450 ExecReload=/usr/sbin/apachectl graceful (code=exited, status=0/SUCCESS)
   Main PID: 52131 (apache2)
      Tasks: 6 (limit: 4579)
     Memory: 16.9M
        CPU: 331ms
     CGroup: /system.slice/apache2.service
             ??52131 /usr/sbin/apache2 -k start
             ??52454 /usr/sbin/apache2 -k start
             ??52455 /usr/sbin/apache2 -k start
             ??52456 /usr/sbin/apache2 -k start
             ??52457 /usr/sbin/apache2 -k start
             ??52458 /usr/sbin/apache2 -k start

Jun 25 15:44:30 ubuntu2204 systemd[1]: Starting The Apache HTTP Server...
At this point, the Apache web server is configured to serve the DokuWiki site. You can now proceed to install Let’s Encrypt SSL on your website.
Enable SSL on DokuWiki Website
To enable the SSL on DokuWiki, you will need to install the Certbot client in your system. The Certbot is a Let’s Encrypt tool used to download and manage the SSL.
You can install the Certbot with the following command:
apt-get install certbot python3-certbot-apache -y
Once installed, run the following command to install the Let’s Encrypt SSL for your website:
certbot --apache -d dokuwiki.linuxbuz.com
You will be asked to provide your valid email and accept the term of service as shown below:
Saving debug log to /var/log/letsencrypt/letsencrypt.log
Plugins selected: Authenticator apache, Installer apache
Enter email address (used for urgent renewal and security notices) (Enter 'c' to
cancel): [email protected]

- - - - - - - - - - - - - - - - - - - - - - - - - - - - - - - - - - - - - - - -
Please read the Terms of Service at
https://letsencrypt.org/documents/LE-SA-v1.2-November-15-2017.pdf. You must
agree in order to register with the ACME server at
https://acme-v02.api.letsencrypt.org/directory
- - - - - - - - - - - - - - - - - - - - - - - - - - - - - - - - - - - - - - - -
(A)gree/(C)ancel: A

- - - - - - - - - - - - - - - - - - - - - - - - - - - - - - - - - - - - - - - -
Would you be willing to share your email address with the Electronic Frontier
Foundation, a founding partner of the Let's Encrypt project and the non-profit
organization that develops Certbot? We'd like to send you email about our work
encrypting the web, EFF news, campaigns, and ways to support digital freedom.
- - - - - - - - - - - - - - - - - - - - - - - - - - - - - - - - - - - - - - - -
(Y)es/(N)o: Y

Obtaining a new certificate
Performing the following challenges:
http-01 challenge for dokuwiki.linuxbuz.com
Enabled Apache rewrite module
Waiting for verification...
Cleaning up challenges
Created an SSL vhost at /etc/apache2/sites-available/dokuwiki-le-ssl.conf
Enabled Apache socache_shmcb module
Enabled Apache ssl module
Deploying Certificate to VirtualHost /etc/apache2/sites-available/dokuwiki-le-ssl.conf
Enabling available site: /etc/apache2/sites-available/dokuwiki-le-ssl.conf
Next, select whether or not to redirect HTTP traffic to HTTPS as shown below:
Please choose whether or not to redirect HTTP traffic to HTTPS, removing HTTP access.
- - - - - - - - - - - - - - - - - - - - - - - - - - - - - - - - - - - - - - - -
1: No redirect - Make no further changes to the webserver configuration.
2: Redirect - Make all requests redirect to secure HTTPS access. Choose this for
new sites, or if you're confident your site works on HTTPS. You can undo this
change by editing your web server's configuration.
- - - - - - - - - - - - - - - - - - - - - - - - - - - - - - - - - - - - - - - -
Select the appropriate number [1-2] then [enter] (press 'c' to cancel): 2
Type 2 and hit Enter to start the process. Once the installation is completed, you should get the following output:
Enabled Apache rewrite module
Redirecting vhost in /etc/apache2/sites-enabled/dokuwiki.conf to ssl vhost in /etc/apache2/sites-available/dokuwiki-le-ssl.conf

- - - - - - - - - - - - - - - - - - - - - - - - - - - - - - - - - - - - - - - -
Congratulations! You have successfully enabled https://dokuwiki.linuxbuz.com

You should test your configuration at:
https://www.ssllabs.com/ssltest/analyze.html?d=dokuwiki.linuxbuz.com
- - - - - - - - - - - - - - - - - - - - - - - - - - - - - - - - - - - - - - - -

IMPORTANT NOTES:
 - Congratulations! Your certificate and chain have been saved at:
   /etc/letsencrypt/live/dokuwiki.linuxbuz.com/fullchain.pem
   Your key file has been saved at:
   /etc/letsencrypt/live/dokuwiki.linuxbuz.com/privkey.pem
   Your cert will expire on 2020-09-05. To obtain a new or tweaked
   version of this certificate in the future, simply run certbot again
   with the "certonly" option. To non-interactively renew *all* of
   your certificates, run "certbot renew"
 - If you like Certbot, please consider supporting our work by:

   Donating to ISRG / Let's Encrypt:   https://letsencrypt.org/donate
   Donating to EFF:                    https://eff.org/donate-le
At this point, your Dokuwiki site is secured with Let’s Encrypt SSL.
Access the DokuWiki
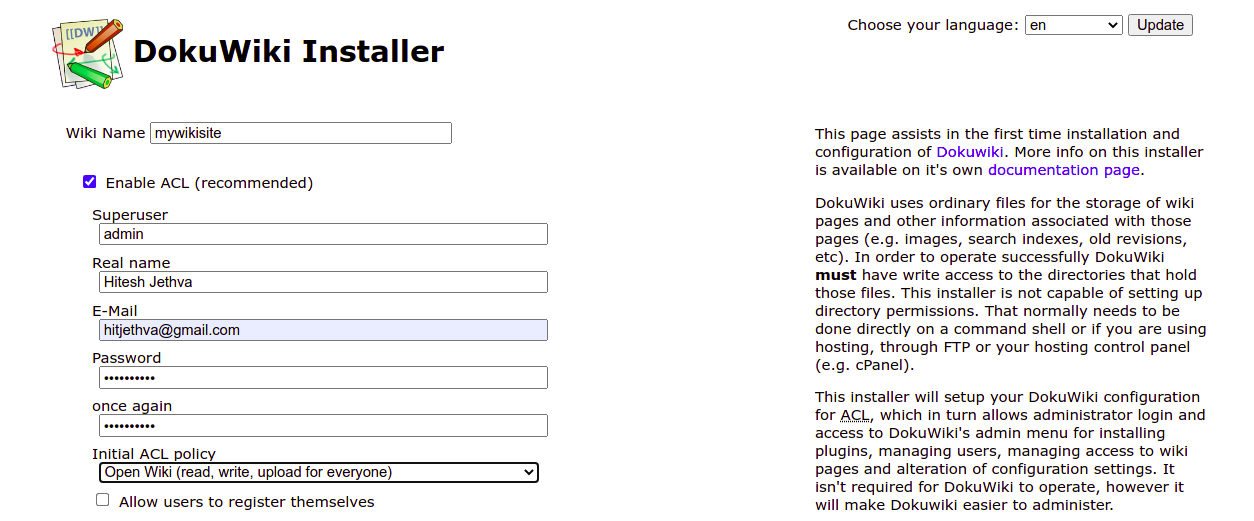
Now, open your web browser and type the URL https://dokuwiki.linuxbuz.com/install.php. You should see the DokuWiki installation screen:
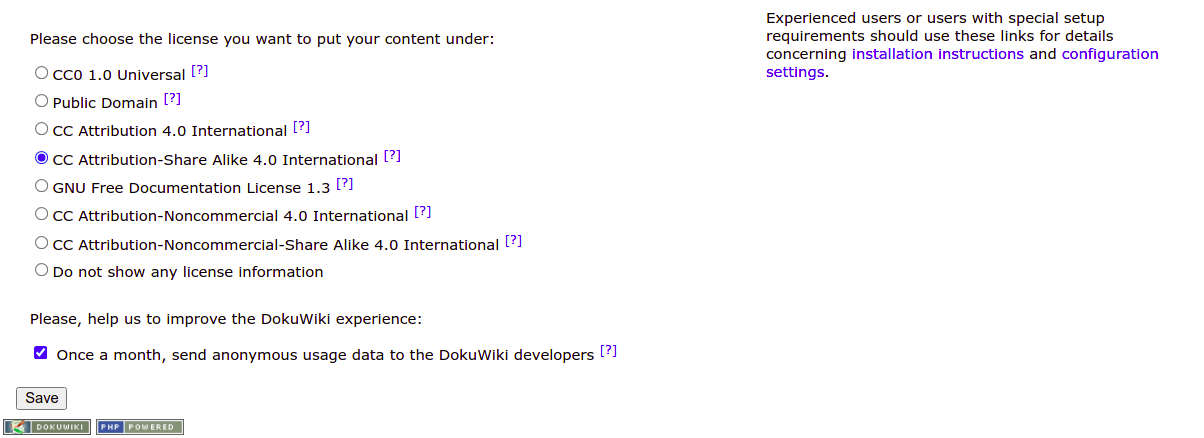
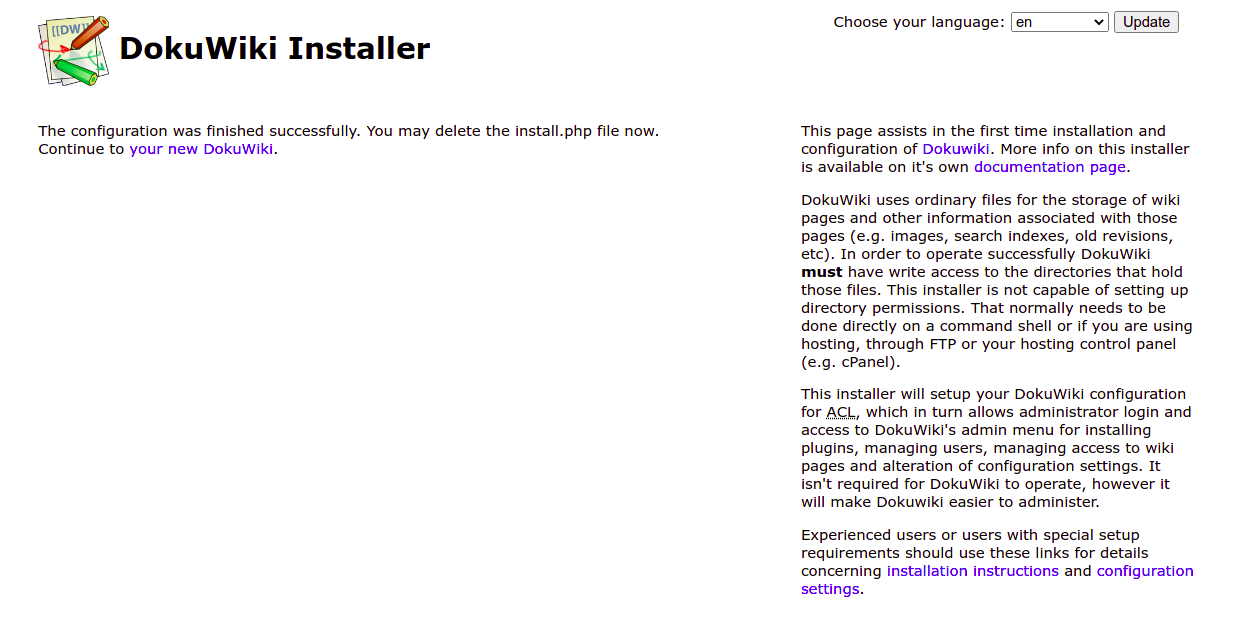
Provide your wiki name, admin username, password, email, choose your policy, and click on the Save button. You will be redirected to the following page:
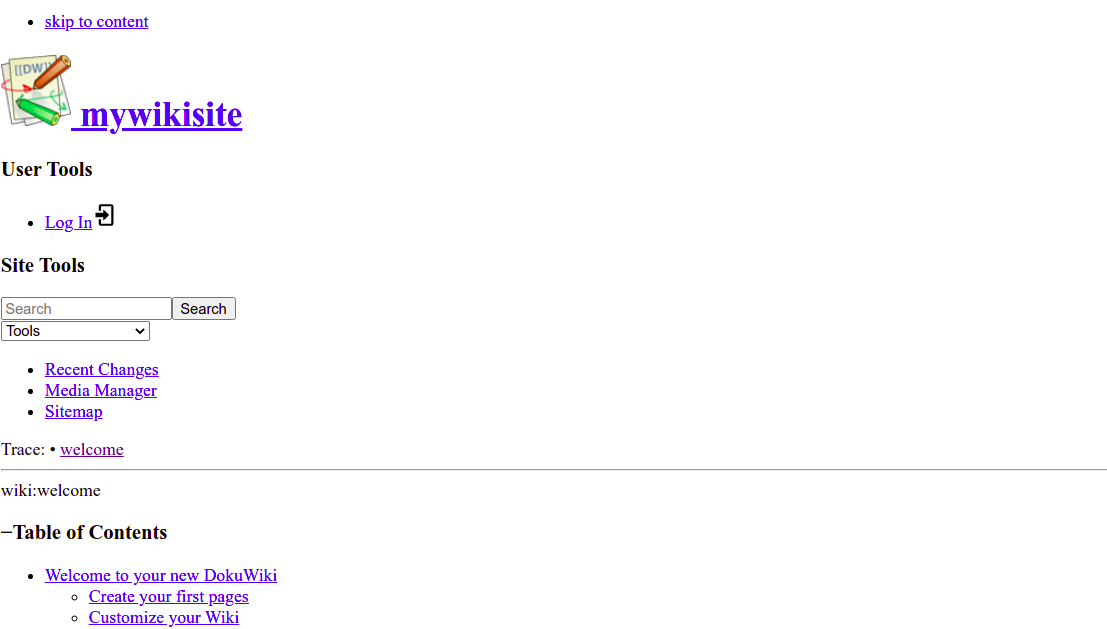
Click on “your new DokuWiki”. You should see the following screen:
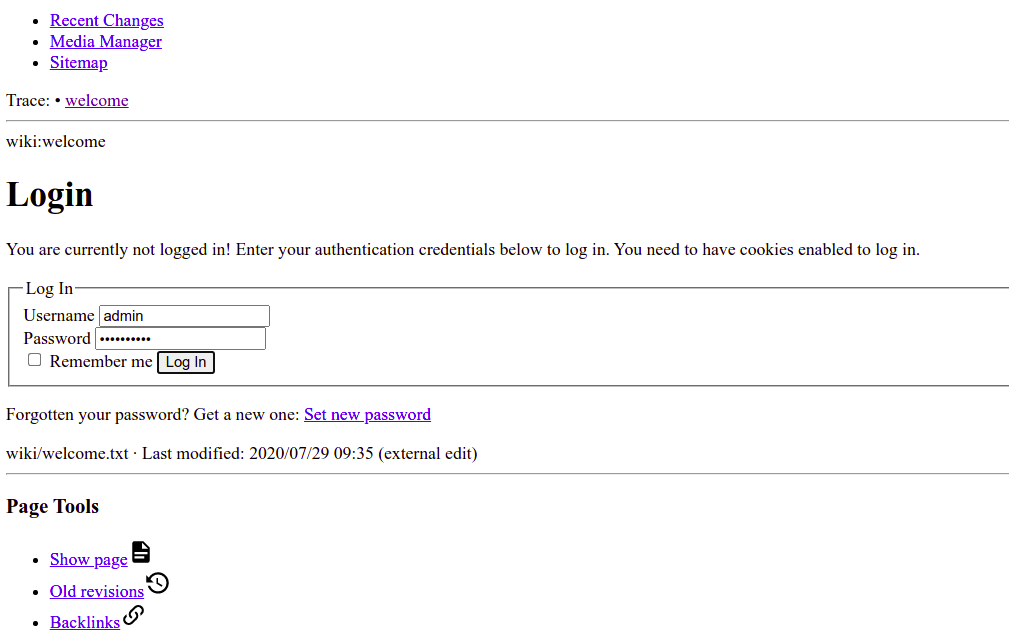
Click on the Login button. You will be redirected to the DokuWiki login screen as shown below:
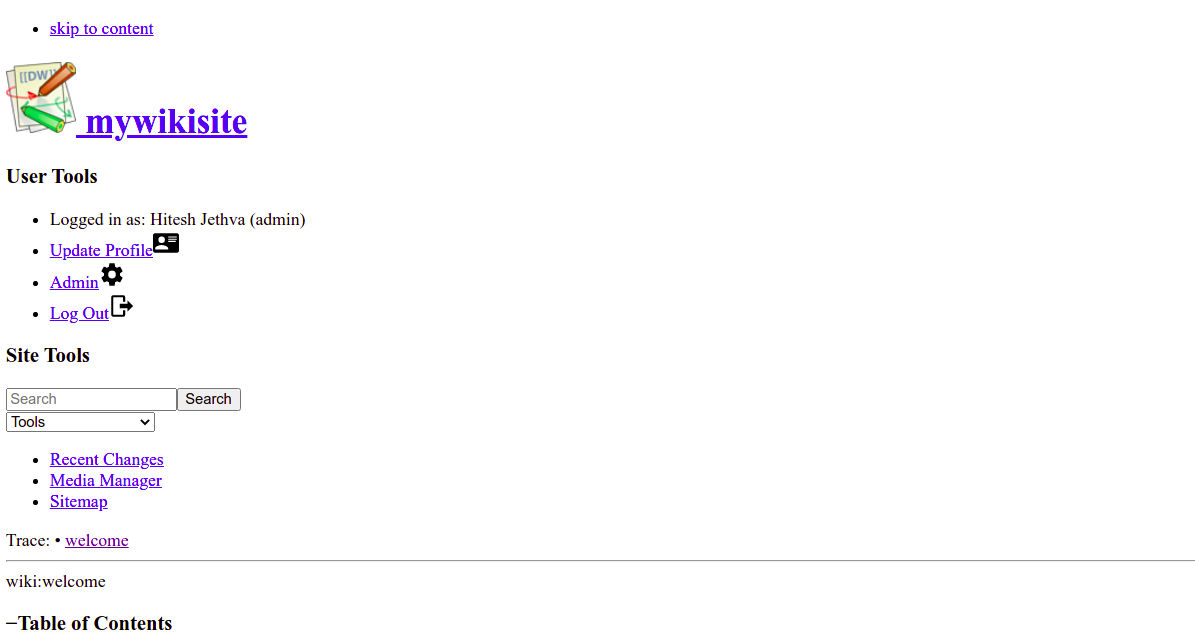
Provide your admin username, password, and click on the Log In button. You should see the DokuWiki dashboard on the following screen:
Setting Up Auto-Renewal
By default, Let’s Encrypt certificates are valid for 90 days. So, you will need to set up a cron job to auto-renew the SSL certificate. It is safe to create a cron job that runs every week or even every day.
If you want to renew the SSL certificate manually, run the following command:
certbot renew --dry-run
You can set up a cron job to auto-renew the SSL certificate every day at 6:00 AM by editing the following file:
crontab -e
Add the following line:
00 06 * * * root /usr/bin/certbot renew >/dev/null 2>&1
Save and close the file, when you are finished.
Conclusion
Congratulations! you have successfully installed DokuWiki and secured it with Let’s Encrypt SSL on Ubuntu 22.04. You can now create your own wiki site using the DokuWiki. Feel free to ask me if you have any questions.


