 on CentOS 8")
OpenCV stands for “Open Source Computer Vision Library” is an open-source cross-platform computer vision algorithm library that can be used in all kinds of visual processing areas, such as facial recognition, gesture recognition and motion tracking. It is specially designed to take advantage of multi-core processing and features GPU acceleration for real-time operation. It can be installed on several operating systems, including Windows, Linux, Android, iOS, etc.
In this tutorial, we will explain how to install OpenCV on CentOS 8.
Prerequisites
- A server running CentOS 8.
- A root password is set up on your server.
Install Required Packages
By default, OpenCV is not available in the CentOS 8 default repository. So you will need to compile it from the source. In order to compile the OpenCV, you will need to install required dependencies in your system. You can install all of them with the following command:
dnf install epel-release make git gcc gcc-c cmake3 qt5-qtbase-devel python3 python3-devel python3-pip cmake python3-devel python3-numpy gtk2-devel libpng-devel libwebp-devel libjpeg-turbo-devel libtiff-devel tbb-devel freeglut-devel mesa-libGL mesa-libGL-devel boost boost-thread boost-devel gstreamer1-plugins-base -yOnce all the packages are installed, you can proceed to the next step.
Install OpenCV
First, create a build directory for OpenCV with the following command:
mkdir -p ~/opencv_buildNext, change the directory to opencv_build and download the latest version of OpenCV and OpenCV contrib source with the following command:
cd ~/opencv_build
git clone https://github.com/opencv/opencv.git
git clone https://github.com/opencv/opencv_contrib.git
Next, change the directory to opencv and create a temporary build directory with the following command:
cd opencv
mkdir build
Next, change the directory to the build directory and configure the OpenCV with the following command:
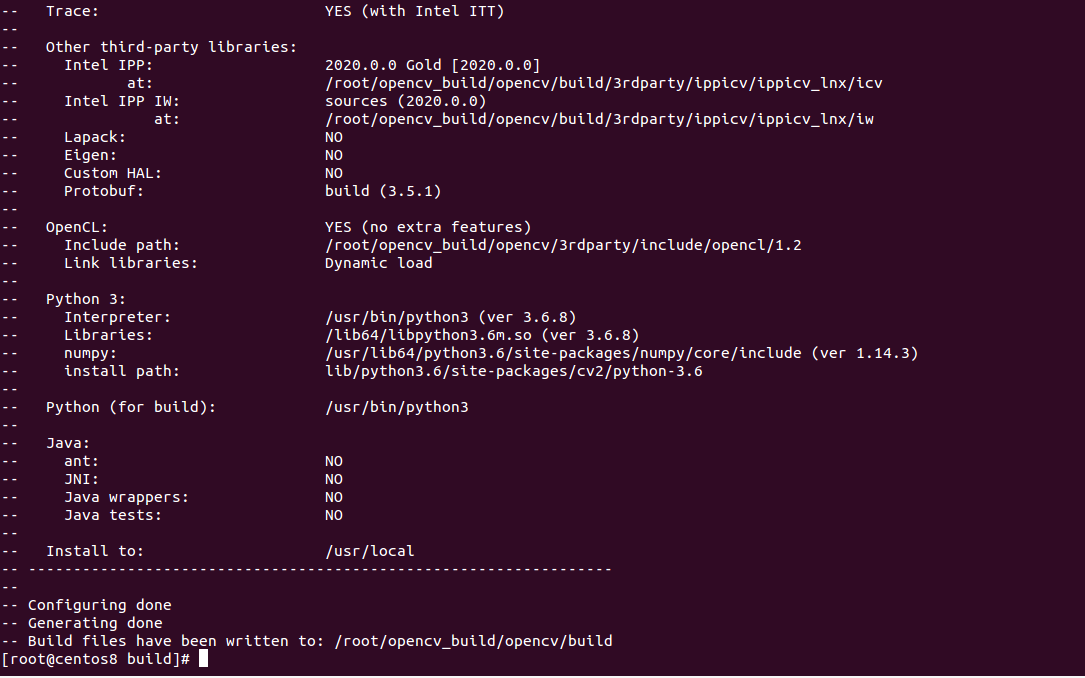
cmake -D CMAKE_BUILD_TYPE=RELEASE -D CMAKE_INSTALL_PREFIX=/usr/local -D INSTALL_C_EXAMPLES=ON -D INSTALL_PYTHON_EXAMPLES=ON -D OPENCV_GENERATE_PKGCONFIG=ON -D OPENCV_EXTRA_MODULES_PATH=~/opencv_build/opencv_contrib/modules -D BUILD_EXAMPLES=ON ..You should get the following screen:
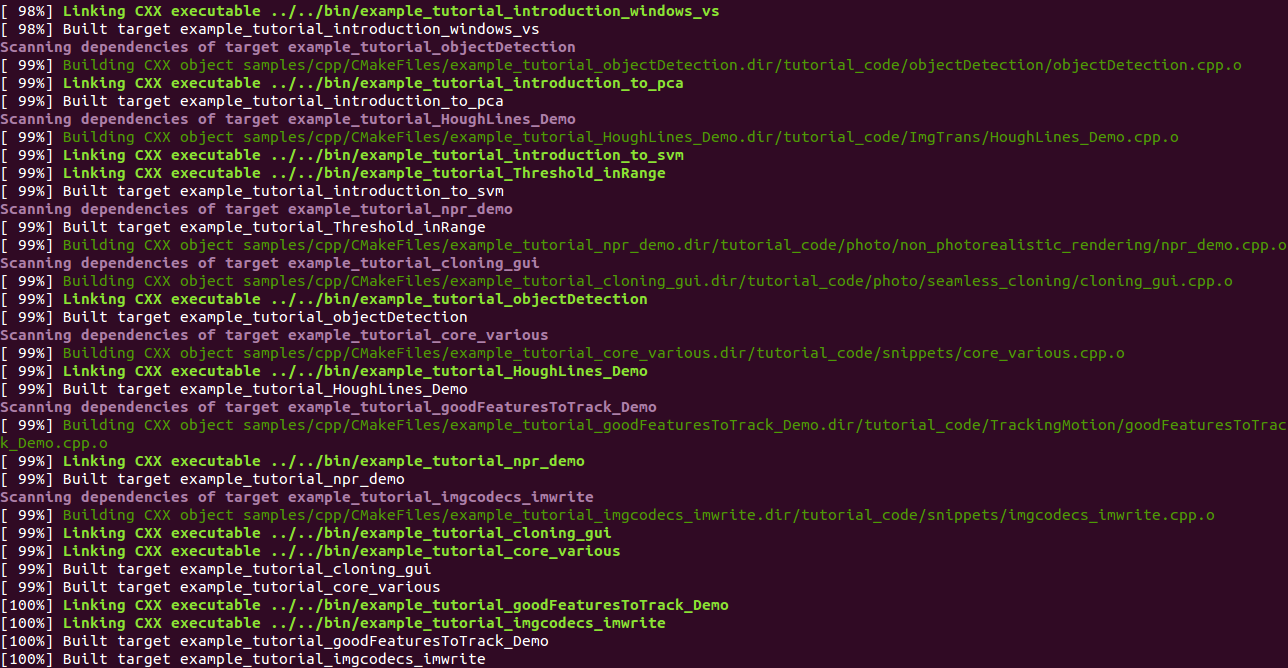
Next, start the compilation with the following command:
make -j4You should get the following screen:
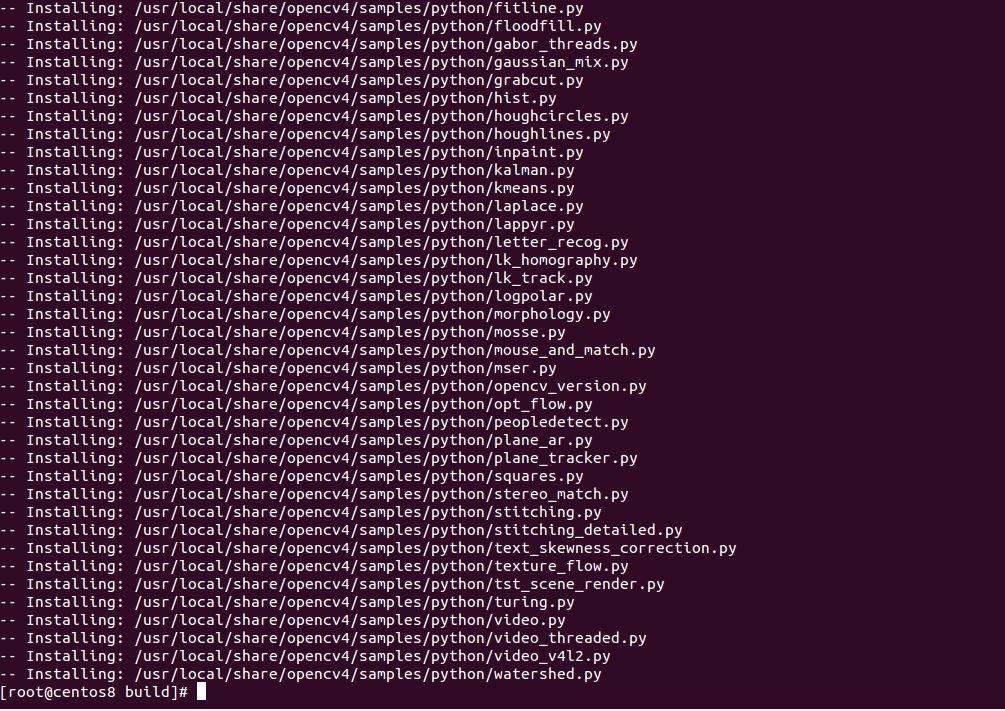
Finally, install the OpenCV with the following command:
make installYou should get the following screen:
Next, create a symbolic link of opencv4.pc to the /usr/share/pkgconfig directory:
ln -s /usr/local/lib64/pkgconfig/opencv4.pc /usr/share/pkgconfig/Next, rebuild the libraries cache with the following command:
ldconfigNext, you can verify the OpenCV version with the following command:
pkg-config --modversion opencv4You should get the following output:
4.3.0
You can also verify the Python cv2 module with the following command:
python3 -c "import cv2; print(cv2.__version__)"You should get the following output:
4.3.0-dev
Conclusion
Congratulations! you have successfully installed OpenCV from the source. For more information about OpenCV, you can go to the official web site of OpenCV directly.
About Hitesh Jethva
Over 8 years of experience as a Linux system administrator. My skills include a depth knowledge of Redhat/Centos, Ubuntu Nginx and Apache, Mysql, Subversion, Linux, Ubuntu, web hosting, web server, Squid proxy, NFS, FTP, DNS, Samba, LDAP, OpenVPN, Haproxy, Amazon web services, WHMCS, OpenStack Cloud, Postfix Mail Server, Security etc.


