
ownCloud is a software solution for creating file-hosting services like Google Drive and DropBox. It’s free and open-source file-hosting software that allows you to set up a self-hosted file-hosting on your own server. ownCloud offers the server application (the main component of the ownCloud software suits), and client applications that can be installed on multiple operating systems such as Linux, Windows, macOS, Android, and iOS.
ownCloud is mainly written in PHP, JavaScript, and Go. It allows you to sync calendar events easily and store archives, images, and filess. It also allows you to organize tasks, address books, etc. ownCloud is an extensible application that allows you to install an additional application on top of it.
Follow this guide to learn how to install ownCloud software on Debian 12 step-by-step. Learn how to install ownCloud via the command line on the LAMP Stack and secure ownCloud with SSL/TLS certificates from Letsencrypt.
Prerequisites
To begin the process, ensure you have the following:
- A Debian 12 server.
- A non-root user with administrator user.
- A domain name pointed to a server IP address.
Instaling Dependencies
In the following section, you will install package dependencies that are needed by ownCloud. Below are some packages that you will be installing:
- Apache2 web server.
- MariaDB database server.
PHP 7.4 – The current PHP version 8.x is still not yet supported by ownCloud, so you will install PHP 7.4 via a third-party repository. - Redis server.
- Additional packages such as ImageMagick, Certbot, Pear, and PHP extensions.
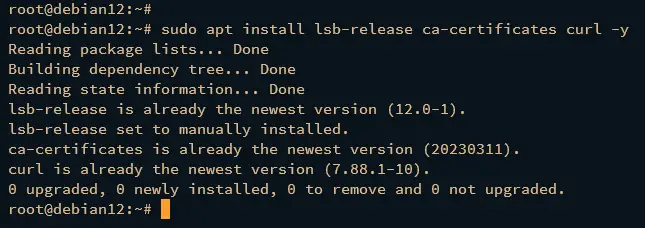
First, run the following command to install some dependencies to your system.
sudo apt install lsb-release ca-certificates curl -y
Now run the command below to add the PHP GPG key and the repository to your Debian system. Unfortunately, the ownCloud still does not support PHP 8.x, and you must install PHP 7.4 to your Debian machine via a third-party repository.
sudo curl -sSLo /usr/share/keyrings/deb.sury.org-php.gpg https://packages.sury.org/php/apt.gpg
sudo sh -c 'echo "deb [signed-by=/usr/share/keyrings/deb.sury.org-php.gpg] https://packages.sury.org/php/ $(lsb_release -sc) main" > /etc/apt/sources.list.d/php.list'
Next, run the following command to update and refresh your Debian repository.
sudo apt update
Then install dependencies for ownCloud by executing the following apt install command. With this, you will install the LAMP Stack (Apache2, MariaDB, and PHP 7.4), Certbot, Redis, additional PHP extensions, and ImageMagick.
sudo apt install apache2 mariadb-server imagemagick certbot python3-certbot-apache smbclient redis-server unzip rsync libapache2-mod-php7.4 php7.4 php7.4-intl php7.4-mysql php7.4-mbstring php7.4-imagick php7.4-igbinary php7.4-gmp php7.4-bcmath php7.4-curl php7.4-gd php7.4-zip php7.4-imap php7.4-ldap php7.4-bz2 php7.4-ssh2 php7.4-common php7.4-json php7.4-xml php7.4-dev php7.4-apcu php7.4-redis libsmbclient-dev php-pear php-phpseclib
Type y to proceed with the installation.
Once dependencies are installed, verify each of those by executing the following command.
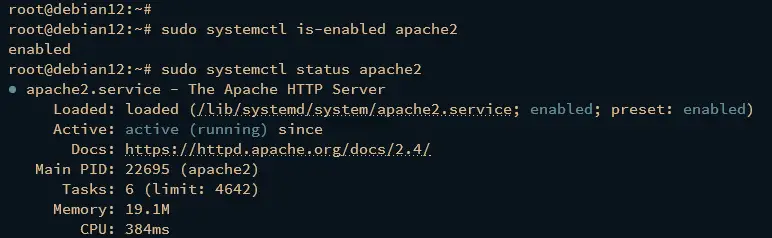
Run the command below to verify the apache2 service to ensure that the service is running.
sudo systemctl is-enabled apache2
sudo systemctl status apache2
The following output shows you that the apache2 is enabled and running.
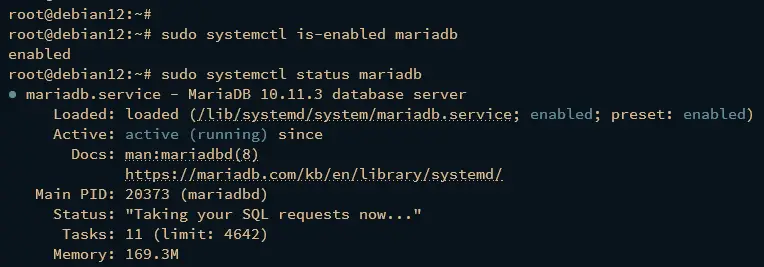
Verify the mariadb service using the following command.
sudo systemctl is-enabled mariadb
sudo systemctl status mariadb
The output should be similar, an output enabled confirms that mariadb is enabled, and the output active (running) confirms that mariadb is running.
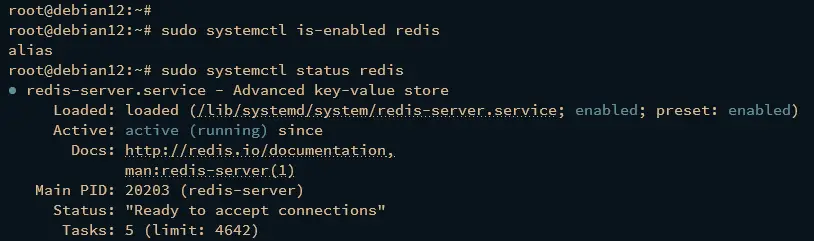
Now verify Redis using the following command.
sudo systemctl is-enabled redis
sudo systemctl status redis
The Redis server should be running and enabled like the following:
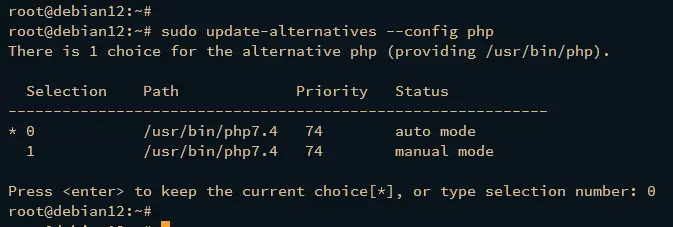
Next, run the following command to configure the default PHP version on your Debian machine.
sudo update-alternatives --config php
Select the default PHP version to PHP 7.2.
Run the following command to configure additional PHP tools to use PHP 7.4.
sudo update-alternatives --set phar /usr/bin/phar7.4
sudo update-alternatives --set phar.phar /usr/bin/phar.phar7.4
sudo update-alternatives --set phpize /usr/bin/phpize7.4
sudo update-alternatives --set php-config /usr/bin/php-config7.4
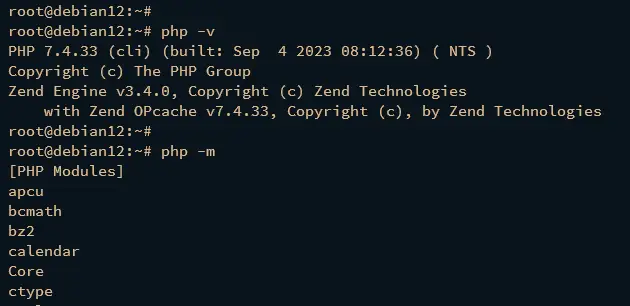
After that, verify the default PHP version and some enabled extensions using the following command.
php -v
php -m
An output below confirms that PHP 7.2 is installed and become the default PHP version on your Debian machine.
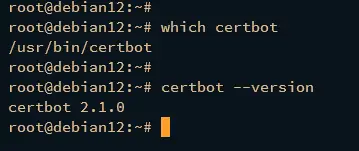
Lastly, check the binary path of Certbot and its version using the following command.
which certbot
certbot --version
You should see Certbot 2.1.0 is installed to /usr/bin/certbot.
Upgrading PHP Pear
After installing dependencies, the next step is to upgrade the Pear package to the latest version, which can be done via the Pear command line.
Execute the following command to create a new temp directory /tmp/pear/cache and upgrade the pear version to 1.10.13.
sudo mkdir -p /tmp/pear/cache
sudo pear upgrade --force --alldeps http://pear.php.net/get/PEAR-1.10.13
During the installation, you should an output like the following:
Next, run the pear commands below to clear the cache, update channels, and upgrade all packages.
sudo pear clear-cache
sudo pear update-channels
sudo pear upgrade --force
sudo pear upgrade-all
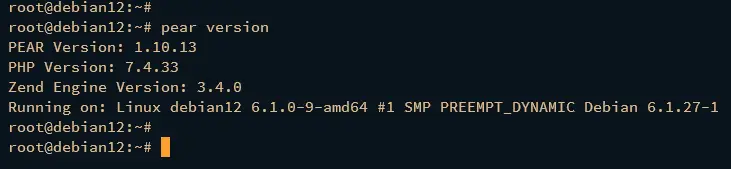
Once finished, verify the PEAR version using the following command.
pear version
You should see Pears is updated to v1.10.13.
Configuring MariaDB Server
In the following section, you will create and secure your MariaDB Server installation via the mariadb-secure-installation utility. Then, you will create a new database and user that will be used by ownCloud.
To secure the MariaDB Server, run the following command on your terminal.
sudo mariadb-secure-installation
During the process, you will be asked about some of MariaDB’s configurations. Input Y to accept the configuration or n to reject it. Below are some of the MariaDB configurations you will be asked for:
- Switch to unix_socket authentication?. Input n and press ENTER. The default MariaDB root user is already protected. optionally, you can also enable it by typing y for yes.
- Change the root password?. Input y to confirm and set up your new MariaDB root password.
- Remove anonymous user?. Input y to confirm.
- Disallow root login remotely? Input y to confirm. Only local connection will be allowed if you are using the MariaDB root user.
- Remove test database and access to it?. Input y to confirm and remove the default database ‘test’.
- Lastly, input y again to reload all tables privileges on your MariaDB server and apply new changes.
After securing MariaDB, you will create a new database and user that will be used by ownCloud. To do that, you must log in to the MariaDB Server via the mariadb client.
Execute the following command to log in to the MariaDB Server. Input your MariaDB root password when prompted.
sudo mariadb -u root -p
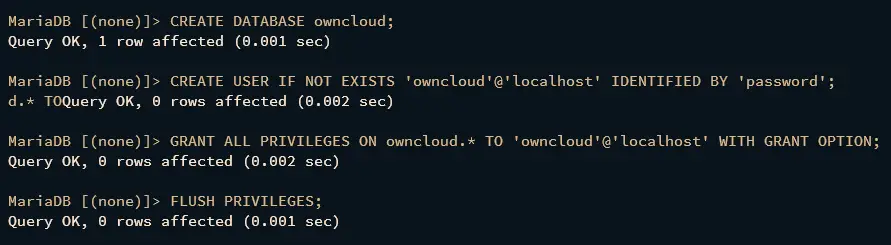
Now execute the MariaDB queries below to create a new database and user for ownCloud. In this example, you will create a new database owncloud, a user owncloud, with the password password.
CREATE DATABASE owncloud;
CREATE USER IF NOT EXISTS 'owncloud'@'localhost' IDENTIFIED BY 'password';
GRANT ALL PRIVILEGES ON owncloud.* TO 'owncloud'@'localhost' WITH GRANT OPTION;
FLUSH PRIVILEGES;
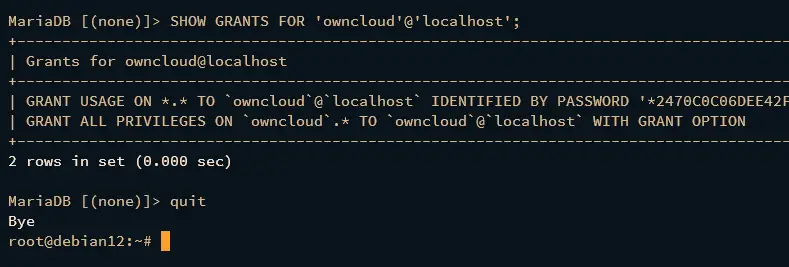
Lastly, verify the privileges for user owncloud by executing the following query.
SHOW GRANTS FOR 'owncloud'@'localhost';
You should see that the user owncloud can access the database owncloud, which will be used for your ownCloud installation.
Now type quit to exit from the MariaDB Server.
Downloading ownCloud Source Code
After configuring the MariaDB server, you will download the ownCloud source code and configure the DocumentRoot directory for your ownCloud installation with its proper permission and ownership.
First, change your working directory to /var/www.
cd /var/www
Then, run the following wget commands to download the ownCloud source code and the corresponding checksum file to your system.
wget https://download.owncloud.com/server/stable/owncloud-complete-latest.tar.bz2
wget https://download.owncloud.com/server/stable/owncloud-complete-latest.tar.bz2.sha256
Now run the command below to ensure the integrity of your ownCloud source code. If successful, you should get the output “owncloud-complete-latest.tar.bz2: OK“.
sudo sha256sum -c owncloud-complete-latest.tar.bz2.sha256 < owncloud-complete-latest.tar.bz2
Next, run the following command to extract the ownCloud source code. The ownCloud source will be extracted to the /var/www/owncloud directory, which is alose will be used as the DocumentRoot directory.
tar -xf owncloud-complete-latest.tar.bz2
Lastly, run the following command to change the ownership of the /var/www/owncloud directory to the user www-data.
sudo chown -R www-data:www-data /var/www/owncloud
Configuring Apache2 Virtual Host
In this section, you will create a new virtual host configuration that will be used to run ownCloud. You will also generate SSL/TLS certificates from Letsencrypt via Certbot. So before you begin, ensure that you have the domain name pointed to your server IP address.
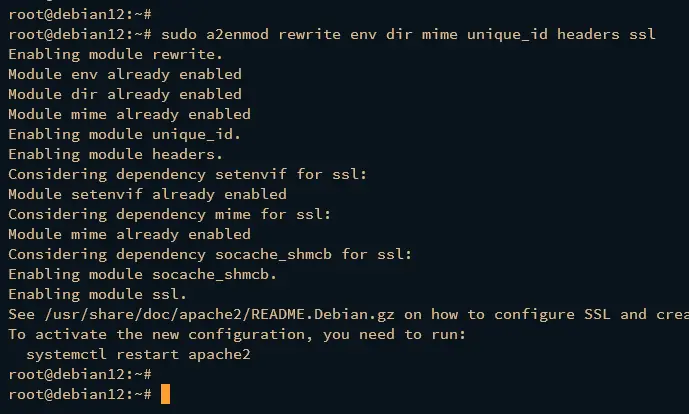
To start, run the following command to enable some Apache2 modules that will be used by ownCloud.
sudo a2enmod rewrite env dir mime unique_id headers ssl
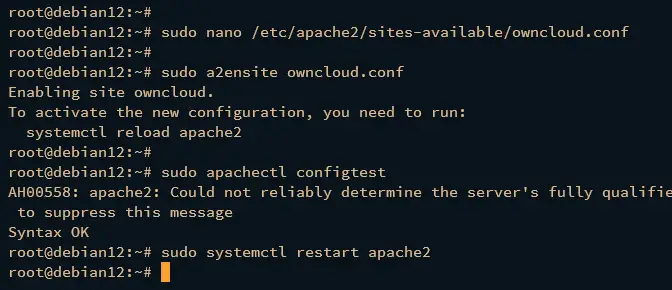
Now create a new virtual host file /etc/apache2/sites-available/owncloud.conf using the following nano editor command.
sudo nano /etc/apache2/sites-available/owncloud.conf
Insert the following configuration and be sure to change the domain name within the ServerName parameter.
ServerName hwdomain.io
ServerAlias www.hwdomain.ioDocumentRoot /var/www/owncloud
ErrorLog ${APACHE_LOG_DIR}/hwdomain.io-error.log
CustomLog ${APACHE_LOG_DIR}/hwdomain.io-access.log combinedAlias /owncloud "https://www.howtoforge.com/var/www/owncloud/"
Options FollowSymlinks
AllowOverride All
Dav off
SetEnv HOME /var/www/owncloud
SetEnv HTTP_HOME /var/www/owncloud
Save the file and exit the editor when you’re done.
Next, run the a2ensite command below to activate the virtual host file owncloud.conf and verify your Apache2 syntax via the apachectl command. If you’ve proper syntax, you should get the output “Syntax OK“.
sudo a2ensite owncloud.conf
sudo apachectl configtest
Now run the systemctl command below to restart the apache2 service and apply the changes that you’ve made.
sudo systemctl restart apache2
Lastly, run the certbot command below to generate SSL/TLS certificates for your ownCloud domain name. Be sure to change the domain name and email address in the following command with your information.
sudo certbot --apache --agree-tos --no-eff-email --redirect --hsts --staple-ocsp --email [email protected] -d hwdomain.io
Once the process is finished, your SSL/TLS certificates will be available in the /etc/letsencrypt/live/hwdomain.io directory. Also, your virtual host file owncloud.conf will automatically configured with HTTPS.
Installing ownCloud via Command Line
At this point, you’ve installed and configured all dependencies that are required for ownCloud. You can start the installation step via a web browser or command line. In this example, you will install ownCloud via the command line.
Move your working directory to /var/www/owncloud.
cd /var/www/owncloud
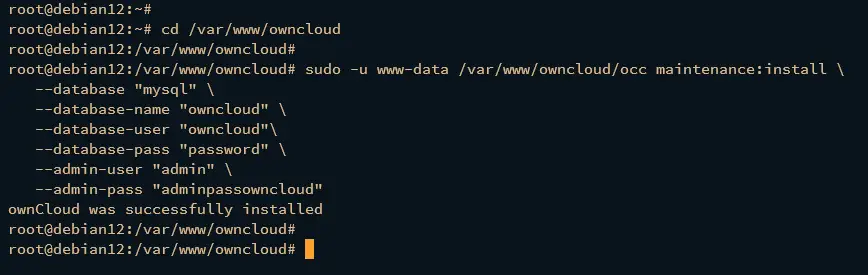
Execute the following command to install ownCloud via the command line. Be sure to change the details of the MariaDB database and the new admin user and password for ownCloud.
sudo -u www-data /var/www/owncloud/occ maintenance:install
   --database "mysql"
   --database-name "owncloud"
   --database-user "owncloud"
   --database-pass "password"
   --admin-user "admin"
   --admin-pass "adminpassowncloud"
Once the installation is finished, you should get the following output.
Next, open the ownCloud config.php script using the following nano editor command.
sudo nano /var/www/owncloud/config/config.php
Add your ownCloud domain name to the trusted_domains like the following.
  'trusted_domains' =>
  array (
    0 => 'localhost',
    1 => 'hwdomain.io',
  ),
Save and close the file when finished.
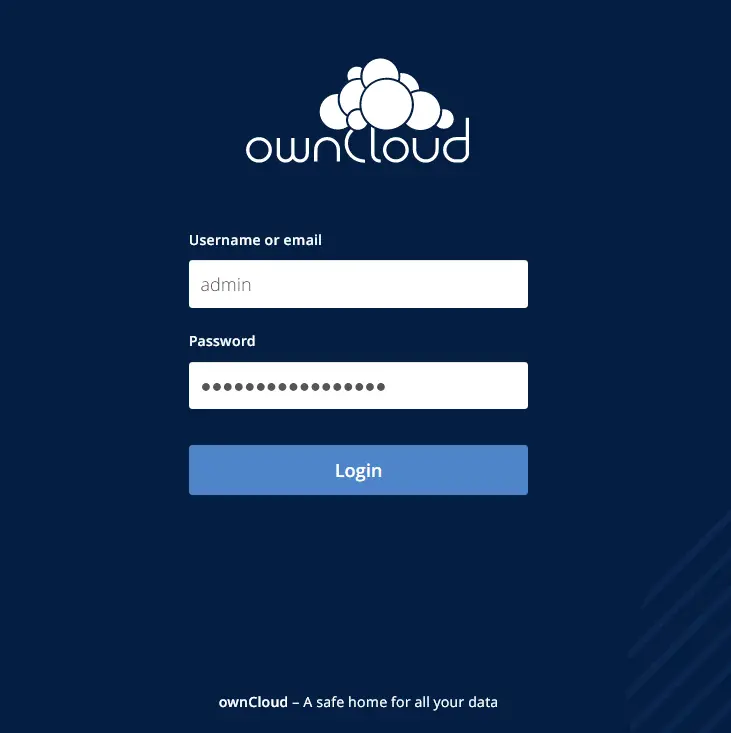
Now open your web browser and visit your ownCloud domain name, such as http://hwdoamin.io/. You will be redirected to a secure HTTPS connection and will get the ownCloud login page.
Input your admin user and password, then click Login.
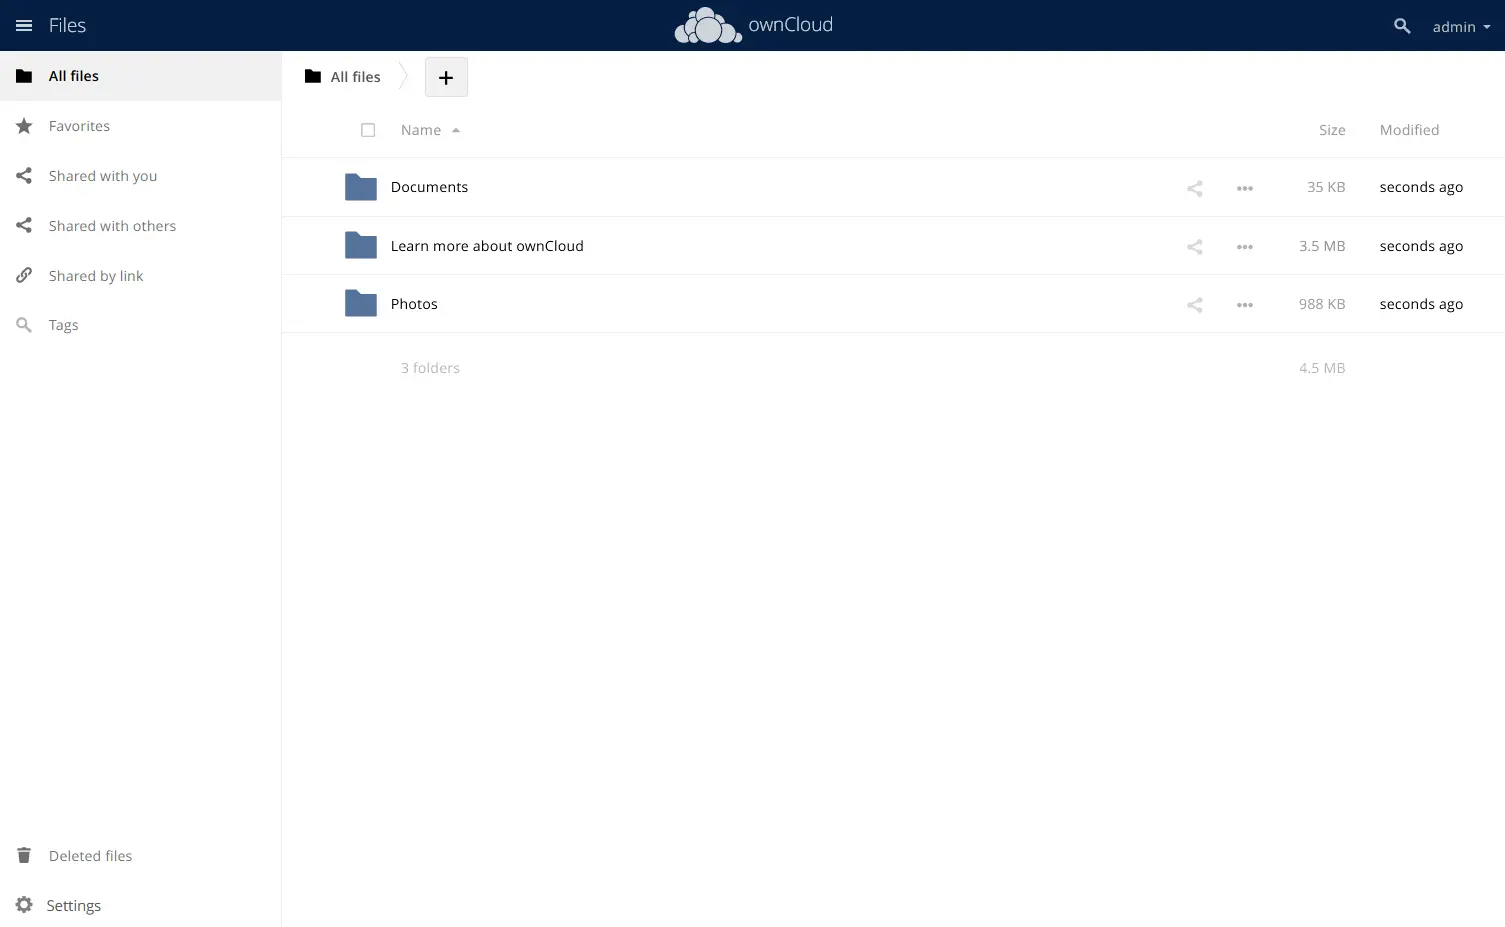
If everything goes well, you should see your ownCloud dashboard like the following.
Performace Tuning for ownCloud
Now that you’ve installed ownCloud, in the last section you will add a new configuration to enhance your ownCloud installation. You will create a new crontab for ownCloud and integrate Redis into your ownCloud installation.
Create a new cron for ownCloud by executing the following command.
sudo crontab -u www-data -e
Select your preferred text editor and input the following configuration. With this, you will execute the command “/usr/bin/php -f /var/www/owncloud/occ system:cron” every 15 minutes.
*/15 * * * * /usr/bin/php -f /var/www/owncloud/occ system:cron
Save and close the file when you’re finished.
Next, open the ownCloud config.php file again using the nano editor command.
sudo nano /var/www/owncloud/config/config.php
Add your Redis server as the memcache.locking like the following:
....
....'filelocking.enabled' => true,
'memcache.local' => 'OCMemcacheAPCu',
'memcache.locking' => 'OCMemcacheRedis',
'redis' => [
'host' => 'localhost',
'port' => 6379,
],....
....
);
Save and exit the file when finished.
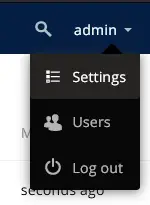
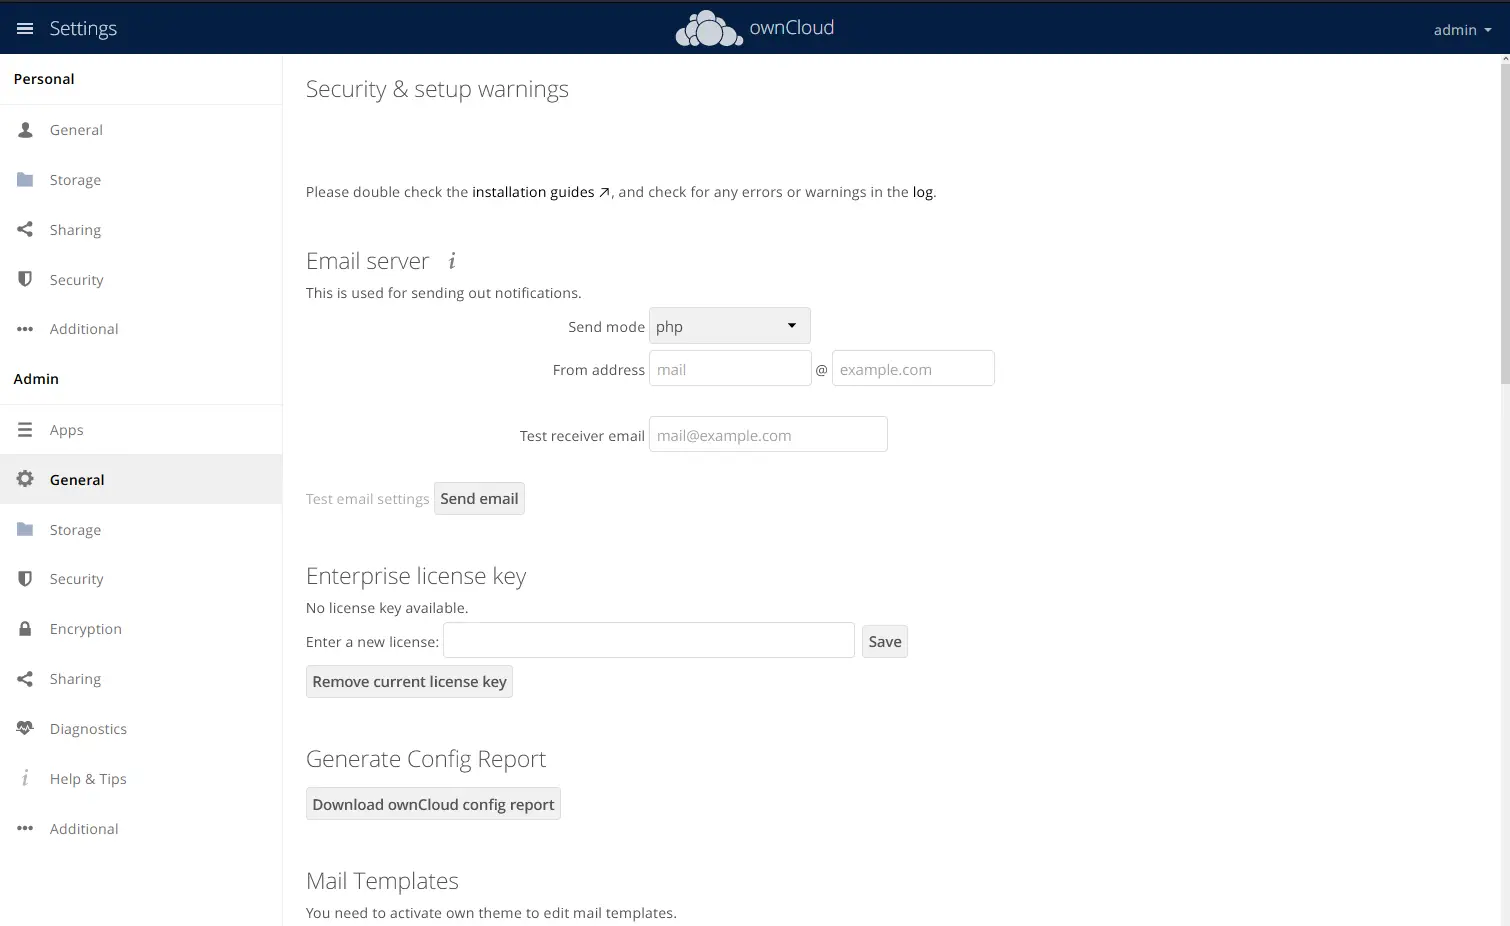
Now back to the ownCloud dashboard, click the user icon, and select Settings.
Click on the General menu and check the Security and Setup warnings section to get details recommendations for your ownCloud installation.
Conclusion
Congratulations! You’ve finished the installation of ownCloud on the Debian 12 server step-by-step. You’ve installed ownCloud with the LAMP Stack (Apache2, MariaDB, and PHP), secured ownCloud with SSL/TLS certificates from Letsencrypt, and integrated Redis server into your ownCloud installation.


